Beauty, Makeup & Skincare Tips, Tricks & Tutorials
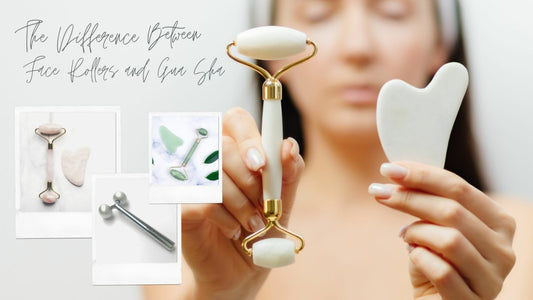
The Difference Between Face Rollers and Gua Sha...
Ever wondered what’s better for your skin? Keep reading to find out if Face Roller or a Gua Sha will suit you best. Those with their fingers on the beauty...
The Difference Between Face Rollers and Gua Sha...
Ever wondered what’s better for your skin? Keep reading to find out if Face Roller or a Gua Sha will suit you best. Those with their fingers on the beauty...
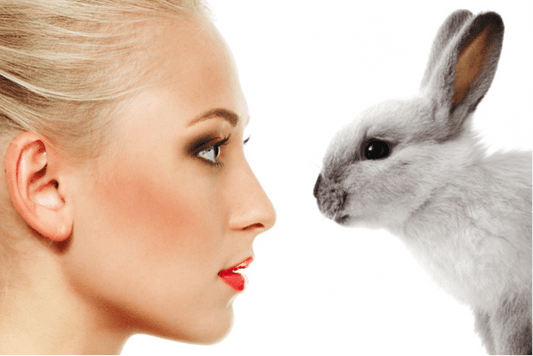
6 Reasons Why Switching to Vegan Beauty Product...
Are you trying to adopt veganism? Sorry to make things even more difficult but you need to realize that vegans not only monitor the food they consume and the clothes...
6 Reasons Why Switching to Vegan Beauty Product...
Are you trying to adopt veganism? Sorry to make things even more difficult but you need to realize that vegans not only monitor the food they consume and the clothes...
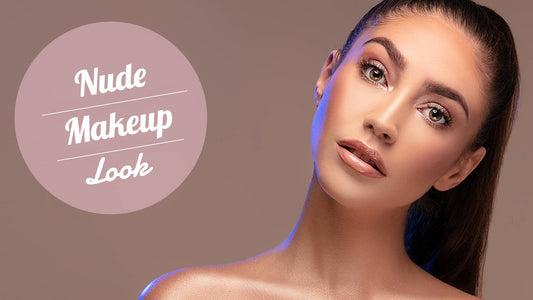
6 Easy Tips to Nude Makeup Look
Nude Makeup Look is ideal for women with sharp features. If you choose to endorse this look, you’ll be showcasing your natural beauty without using a substantial amount of foundation...
6 Easy Tips to Nude Makeup Look
Nude Makeup Look is ideal for women with sharp features. If you choose to endorse this look, you’ll be showcasing your natural beauty without using a substantial amount of foundation...
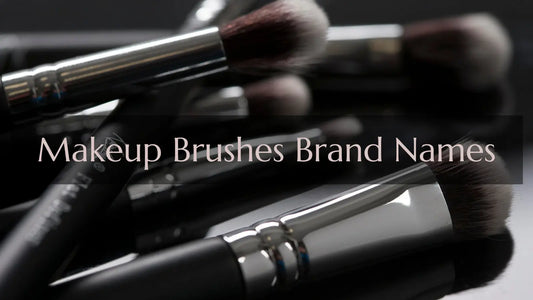
Makeup Brushes Brand Names
Whether you’re a makeup novice or professional makeup artist it’s difficult to remember all of the makeup brush brand names available on the market today. We have compiled a list...
Makeup Brushes Brand Names
Whether you’re a makeup novice or professional makeup artist it’s difficult to remember all of the makeup brush brand names available on the market today. We have compiled a list...
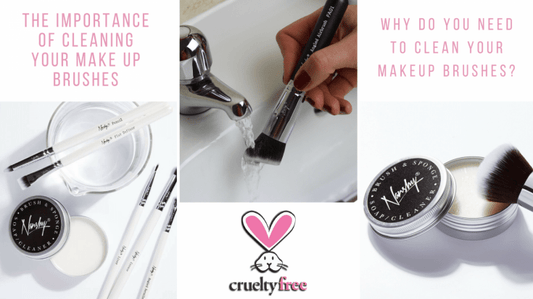
The Importance of Cleaning Your Makeup Brushes
In these times where we are more aware than ever that increased hygiene is key, we wanted to remind our fabulous customers of the best way to ensure your daily...
The Importance of Cleaning Your Makeup Brushes
In these times where we are more aware than ever that increased hygiene is key, we wanted to remind our fabulous customers of the best way to ensure your daily...
![How to use Flat Top Foundation Brush? [Tutorial]](http://nanshy.com/cdn/shop/articles/FoundationBrush-min.jpg?v=1675113452&width=533)
How to use Flat Top Foundation Brush? [Tutorial]
Table of Contents For perfect makeup coverage, a flat top foundation brush is essential. (Scroll down for video)Flat Top Foundation Brush for Liquid Foundation Flawless Foundation Onyx Black Flawless Foundation...
How to use Flat Top Foundation Brush? [Tutorial]
Table of Contents For perfect makeup coverage, a flat top foundation brush is essential. (Scroll down for video)Flat Top Foundation Brush for Liquid Foundation Flawless Foundation Onyx Black Flawless Foundation...