6 Easy Tips for a Naturally Flawless Nude Makeup Look
Nude makeup is a timeless trend that never goes out of style. It's all about enhancing your natural beauty and achieving a fresh, radiant look that's perfect for every occasion. But achieving that effortless "no makeup" makeup look can be trickier than it seems!
Don't worry, lovelies – we're here to help. Want that naturally flawless nude makeup look? We've got you covered with six easy tips. And of course, we'll be using your favourite cruelty-free Nanshy tools along the way!
And if you're looking for the perfect tools to achieve this look, browse our collection of cruelty-free makeup brushes!
1. Prep Your Skin: The Foundation of Flawless
Just like a painter needs a smooth canvas, achieving a flawless nude makeup look starts with well-prepped skin. It's more than just moisturising – we're going to create a base that's so radiant, your natural beauty will truly glow! ✨
Here's your step-by-step guide to prepped perfection:
- Cleanse Away the Day: Begin by removing any traces of makeup, dirt, and excess oil with a gentle cleanser.
- Toner to the Rescue: This step is all about balance! A little toner goes a long way in prepping your skin for makeup—think smaller pores and a smoother surface.
- Hydration is Key: Now for the most important step – moisturising! Choose a moisturiser that caters to your skin's unique needs – lightweight for oily types, and richer for those who need extra hydration. Allow it to fully absorb before moving on.

✨ Nanshy Pro Tip: Want to feel extra luxurious? Treat your skin to a gentle massage with the Nanshy Face Roller & Facial Massager – your complexion will thank you.
This little beauty helps to:
- Reduce Puffiness: Say goodbye to tired-looking eyes!
- Boost Circulation: This promotes a healthy glow.
- Enhance Product Absorption: Your moisturiser will work even better!
Why is prepping your skin so important?
- It creates a smooth canvas: Makeup applies more evenly and flawlessly on well-hydrated skin. No more clinging to dry patches!
- It helps makeup last longer: When your skin is properly hydrated, your makeup won't sink into fine lines or disappear as quickly.
- It enhances your natural glow: By prepping your skin, you're allowing your natural glow to truly radiate, giving you that gorgeous, lit-from-within look.
2. Perfect Your Base: It's All About That Natural Finish
Now that your skin is prepped and glowing, it's time to create the foundation of your nude makeup look (pun intended!). 😊 The key here is to even out your skin tone and create a natural, your-skin-but-better effect, not a mask-like finish.
Finding Your Perfect Match:
- Foundation or Tinted Moisturiser? If you prefer lighter coverage, a tinted moisturiser is a great option. For more coverage, opt for a foundation – there are so many formulas available, from matte to dewy, so find one that suits your skin type and desired finish.
- Matching Your Skin Tone: This is crucial! Test foundation shades on your jawline in natural light to find the perfect match. It should blend seamlessly into your skin.
✨ Nanshy Pro Tip: Not sure about your undertone? Check the veins on your wrist. If they appear blue or purple, you likely have cool undertones. If they look green, you likely have warm undertones.

Applying Like a Pro:
- Start Small: Begin by applying a small amount of foundation or tinted moisturiser to the centre of your face (forehead, nose, cheeks, and chin).
- Blend Outwards: Use gentle, outward strokes to blend the product towards your hairline and jawline.
- Build Coverage Gradually: If you need more coverage in certain areas (like blemishes or redness), apply a bit more product and blend carefully.
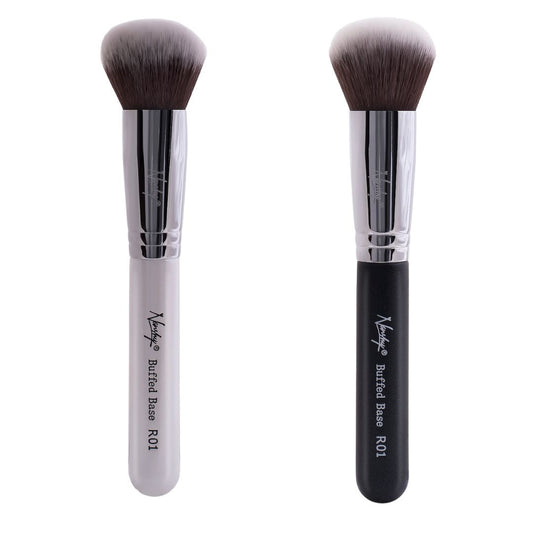
Tool Talk: The Nanshy Buffed Base Brush
Want a flawless, airbrushed finish? Our Nanshy Buffed Base Brush is your new best friend! Its densely packed bristles work beautifully with both liquid and cream foundations, ensuring even coverage and a natural-looking result.
Why We Love It:
- Versatile Application: Perfect for both full coverage and sheer application.
- Blending Powerhouse: Say goodbye to streaks and harsh lines!
- Cruelty-Free and Gorgeous: Because beauty shouldn't come at a cost.
Want to create a flawless base every time? Learn more about How to use Flat Top Foundation Brush? [Tutorial]
3. Conceal and Brighten: Fake That Well-Rested Glow
Even with a flawless base, we all have those little imperfections we might want to camouflage. Concealer is our secret weapon for brightening up the under-eye area, neutralising redness, and saying "buh-bye" to blemishes.
Target Practice: Where to Apply Concealer
- Under the Eyes: To banish dark circles and create a brighter, more awake look.
- Around the Nose: This area tends to be prone to redness, so a touch of concealer can help even things out.
- Blemishes and Spots: Concealer can help camouflage any breakouts and create a more even complexion.

✨ Nanshy Pro Tip: When applying concealer under your eyes, think "upside-down triangle." Draw a triangle with the base under your lash line and the point extending down towards your cheek. This helps create a lifted effect and brightens the entire area.
Choosing the Right Shade
- For Under the Eyes: Opt for a concealer that's one or two shades lighter than your foundation. This will brighten the area and counteract any darkness.
- For Blemishes and Redness: Choose a concealer that matches your foundation or skin tone exactly. This will conceal any blemishes or imperfections without drawing attention to the area.
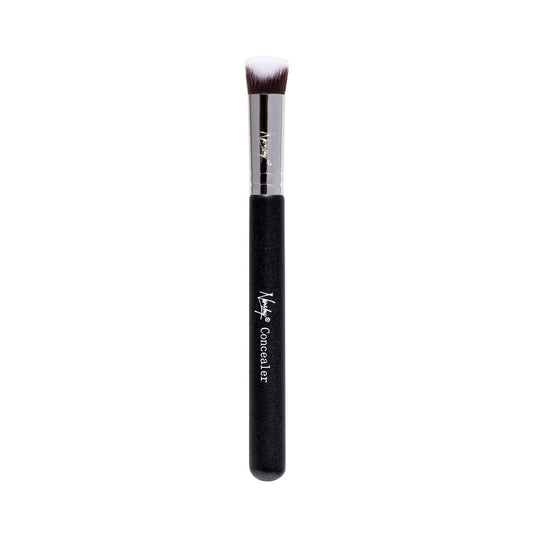
Blending for a Natural Finish: The Nanshy Conceal Perfector
Blending is crucial for a seamless, natural-looking finish. Our Nanshy Conceal Perfector makes blending a breeze!
Why We Love It:
- Unique Shape: The tapered tip allows for precise application, while the wider side is perfect for blending larger areas.
- Soft Bristles, Flawless Finish: The ultra-soft bristles ensure a smooth, airbrushed finish – no tugging or pulling!
4. Add a Pop of Colour: Bringing Back That Healthy Flush
Even with a flawless base and expertly concealed imperfections, a little colour goes a long way in achieving that fresh, naturally radiant look. It's time to bring back the blush!
Cream or Powder?
For a dewy, natural-looking flush, cream blush is your best bet! It blends seamlessly into the skin and creates a "lit-from-within" effect. Plus, it's super easy to apply, even if you're a makeup minimalist.
Choosing the Right Shade:
- Fair Skin Tones: Soft pinks, light peaches, and coral hues will give you a natural-looking flush.
- Medium Skin Tones: Peachy pinks, rose golds, and warmer corals will complement your complexion beautifully.
- Darker Skin Tones: Rich berries, deep corals, and warm browns will create a stunning, healthy glow.
Where to Apply Blush:
- Apples of Your Cheeks: For a youthful, playful look, smile and apply the blush to the roundest part of your cheeks.
- Slightly Higher: For a more lifted effect, apply blush slightly higher on the cheekbones, blending upwards towards the temples.
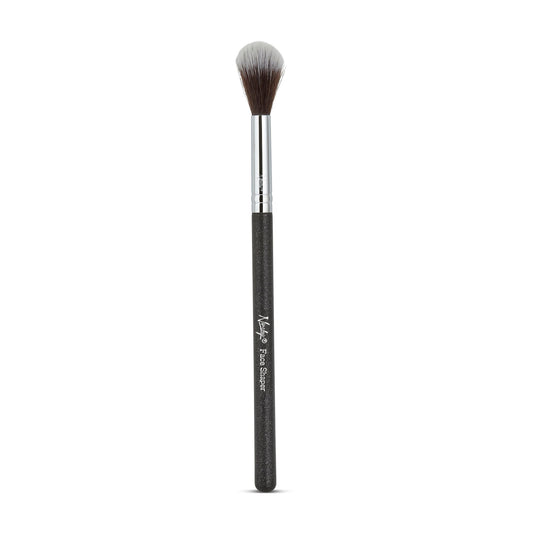
The Perfect Tool: The Nanshy Blush Makeup Brush
Our Nanshy Blush Makeup Brush is designed to give you a natural-looking flush every time.
Here's why we love it:
- Soft, Angled Bristles: Hug the contours of your cheeks for effortless blending.
- Just the Right Size: Perfect for applying and diffusing blush without going overboard.
✨Nanshy Pro Tip: For a soft, diffused look, swirl the brush in small, circular motions. For a more sculpted effect, use the angled side of the brush to apply blush along the cheekbones.
Feeling confused by the sheer variety of makeup brushes out there? Don't worry, we've all been there! Check out our handy guide to Different Types of Makeup Brushes to find your perfect match.
5. Define Your Eyes: Subtle Enhancement is Key
For a natural eye look, we’re not going for dramatic smoky eyes – think soft definition that enhances your natural beauty without overpowering it.
Creating Subtle Depth with Eyeshadow:
- Choose Natural Shades: Think light browns, taupes, or soft peachy tones that compliment your skin tone.
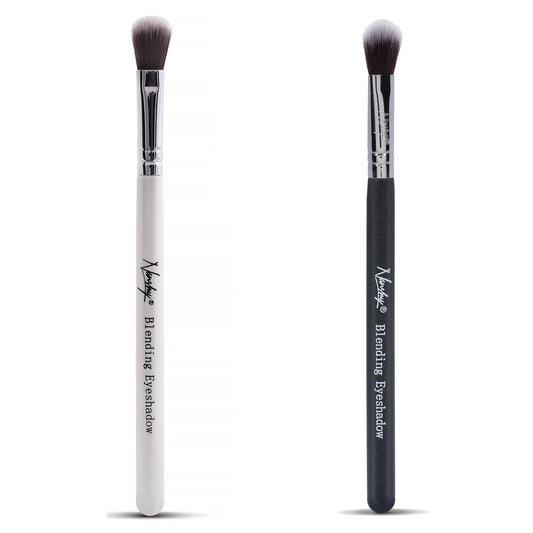
- Focus on the Crease: Use a fluffy blending brush (like our Nanshy Blending Eyeshadow Brush) to apply the eyeshadow to the crease of your eyelid, using soft, windshield-wiper motions. This creates subtle depth and dimension.
- Keep It Light: Remember, a light hand is key! It’s easier to build up colour gradually than to tone it down.
QUICK TIP: Remember to keep your blending brushes clean for optimal performance and hygiene! Learn how to clean them like a pro here.
Defining the Lash Line (Optional):
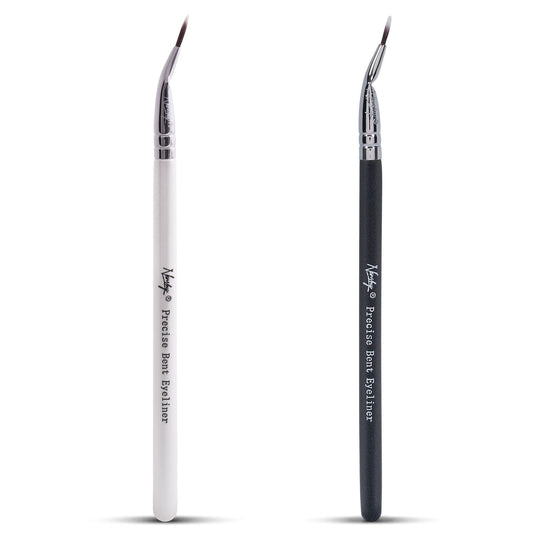
- Soft Brown Eyeliner: For a touch more definition, use a soft brown eyeliner pencil and gently line your upper lash line. You can slightly smudge it out for a softer look.
- Skip the Dramatic Wing: For this natural look, we’re avoiding harsh lines or dramatic wings.
Why We Love the Nanshy Blending Eyeshadow Brush:
- Super Soft Bristles: Perfect for blending out eyeshadow seamlessly and avoiding any harsh lines.
- Fluffy, Tapered Shape: Ideal for applying colour to the crease and diffusing it upwards for a natural-looking gradient.
6. Finish with Lips and Lashes: Soft, Natural, and Gorgeous

We’re almost there! Time for those final touches that complete your nude makeup look and leave you feeling confident and radiant.
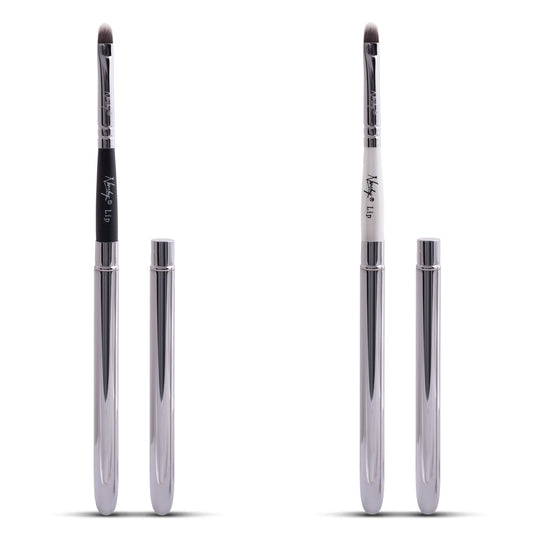
Lips That Look and Feel Amazing:
- Hydration First: Start with a hydrating lip balm to nourish your lips and create a smooth base for any lip colour.
- Choose Your Nude: Opt for a nude lipstick or lip gloss that complements your skin tone. For a natural look, choose a shade that’s close to your natural lip colour.
- Sheer or Pigmented: You can go for a sheer wash of colour or a more pigmented lipstick, depending on your preference.
Lashes That Flutter:
- Mascara Magic: A few coats of mascara will open up your eyes and make them appear brighter. Choose a brown or black mascara, depending on your preference.
- Focus on Length and Separation: We’re not going for dramatic volume here – focus on lengthening and separating the lashes for a natural, fluttery effect.
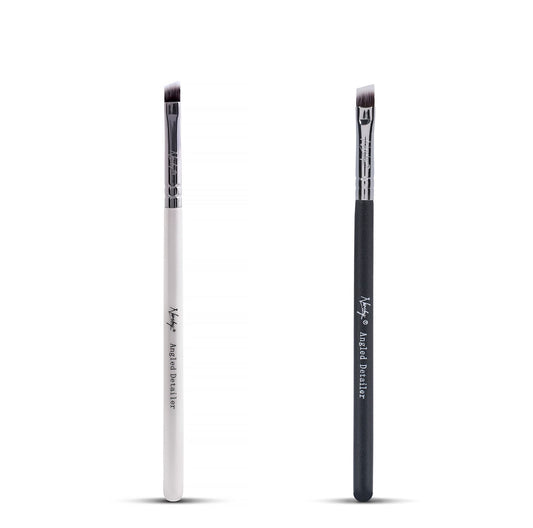
✨ Nanshy Pro Tip: No harsh lines – if you applied eyeliner, try our Nanshy Eye Smudger to soften the edges for a sultry, lived-in look.
**And there you have it – your flawless, naturally radiant nude makeup look is complete! **
Want More Makeup Tips and Tricks? Visit our blog
Don’t forget to sign up for our newsletter for expert beauty advice delivered straight to your inbox!
We love seeing your gorgeous makeup looks! Tag @NanshyOfficial on social media so we can admire your creations.