Cruelty-Free & Vegan Makeup Brushes, Beauty & Skincare Tools

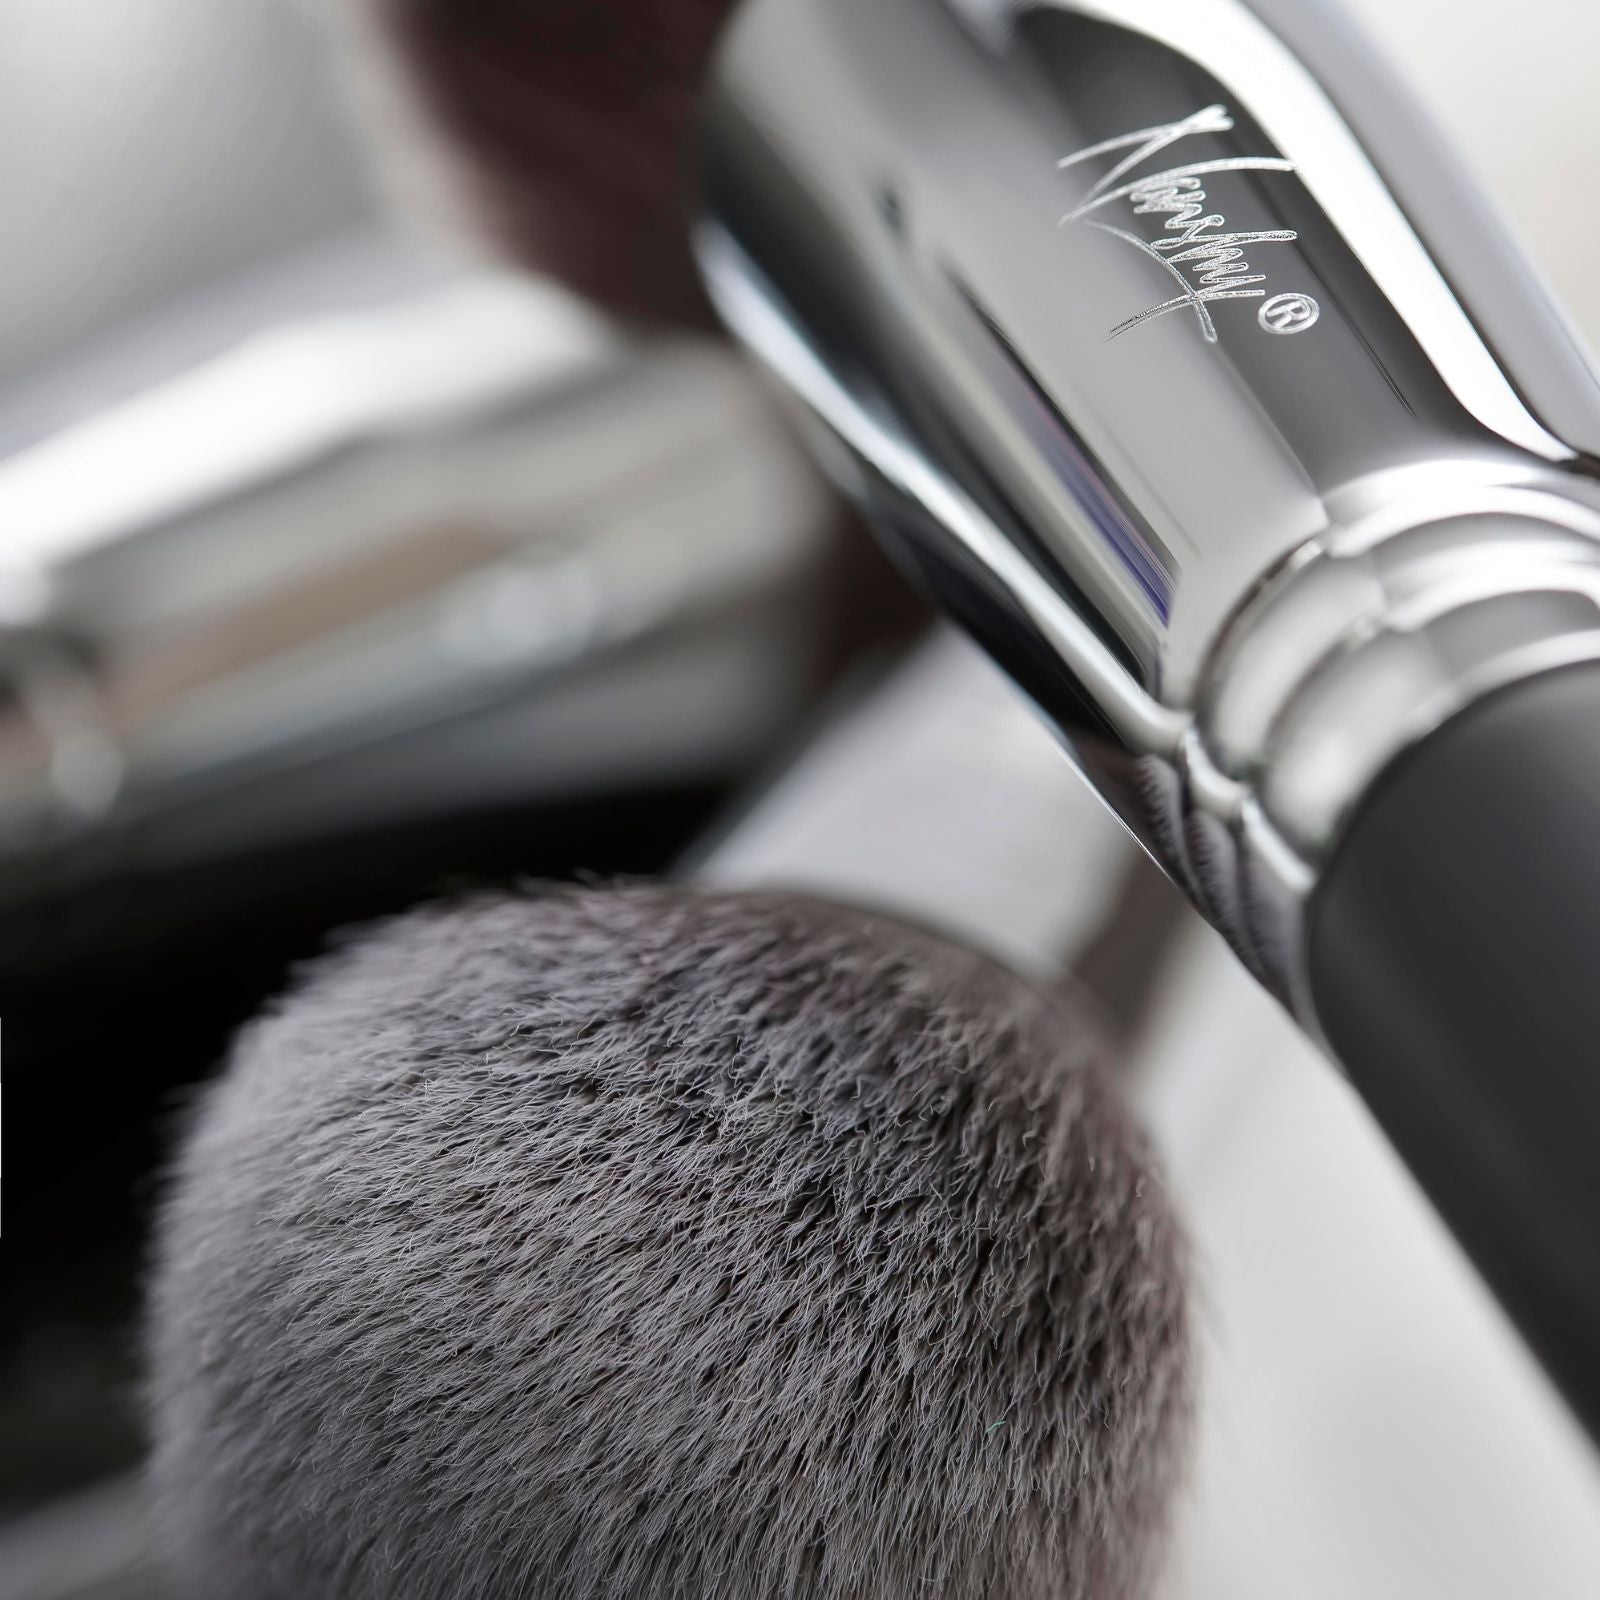

Cruelty-Free & Vegan
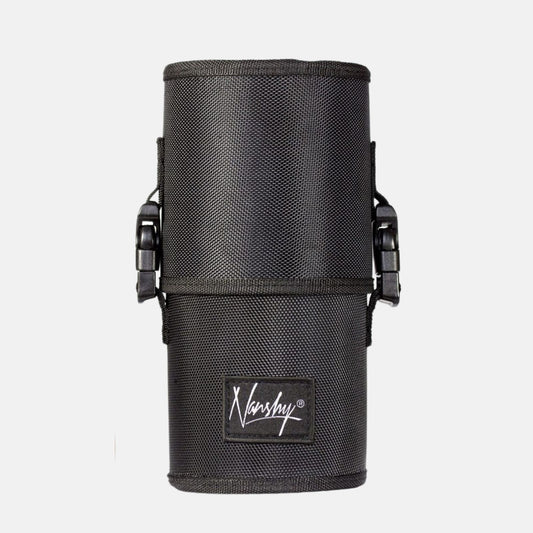
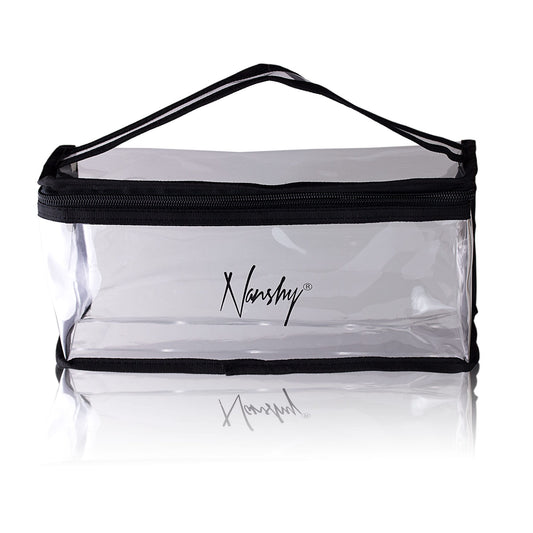
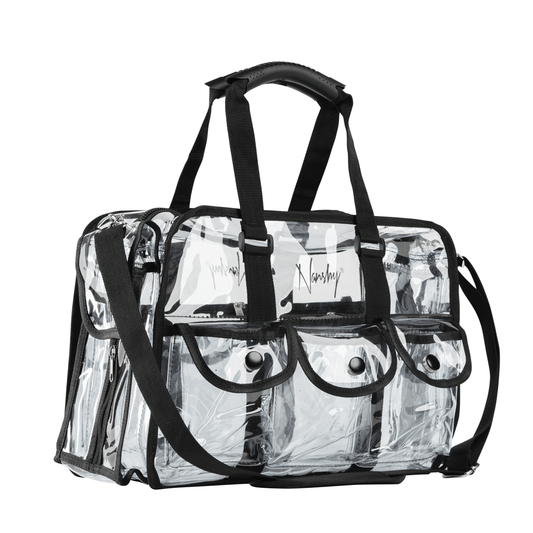
Bestselling Bags
-
The Stand Up Makeup Brush Case
Regular price £16.95 GBPRegular priceUnit price per -
Clear Makeup Bag
Regular price £8.95 GBPRegular priceUnit price per -
Large Clear Makeup Kit Bag
Regular price £42.95 GBPRegular priceUnit price per -
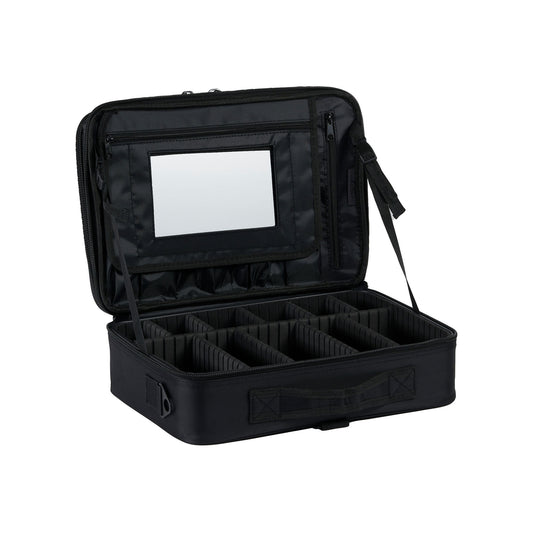
Travel Makeup Case
Regular price £42.95 GBPRegular priceUnit price per
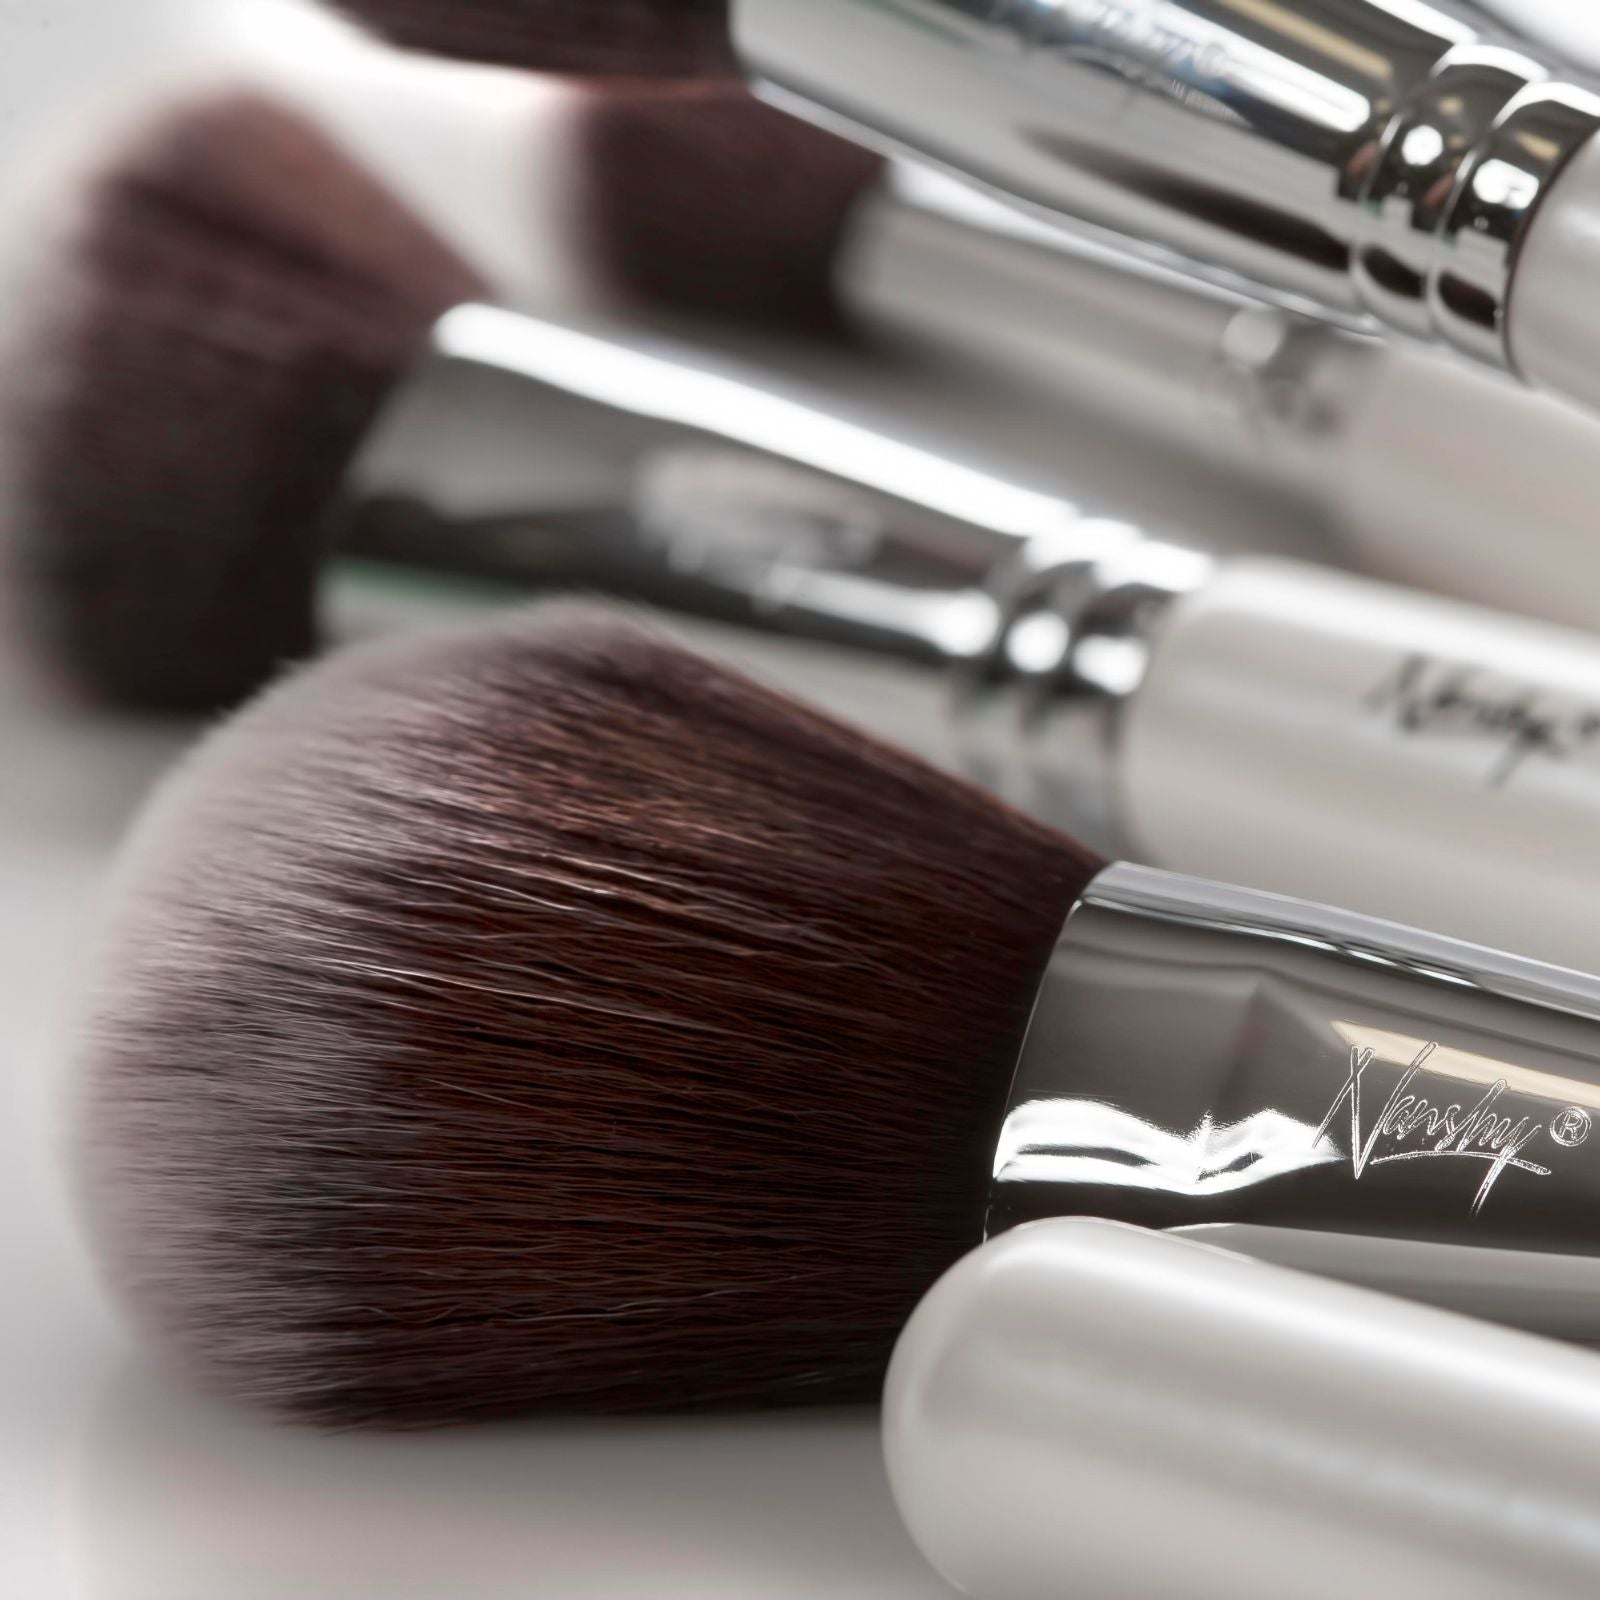
Brush Care
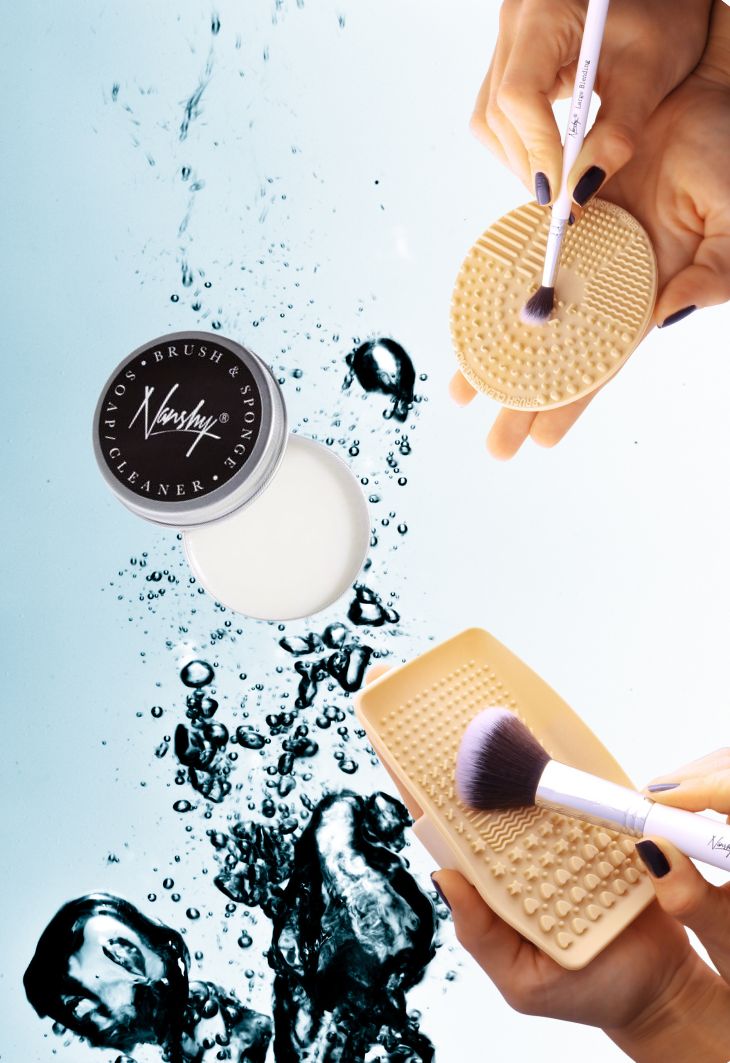
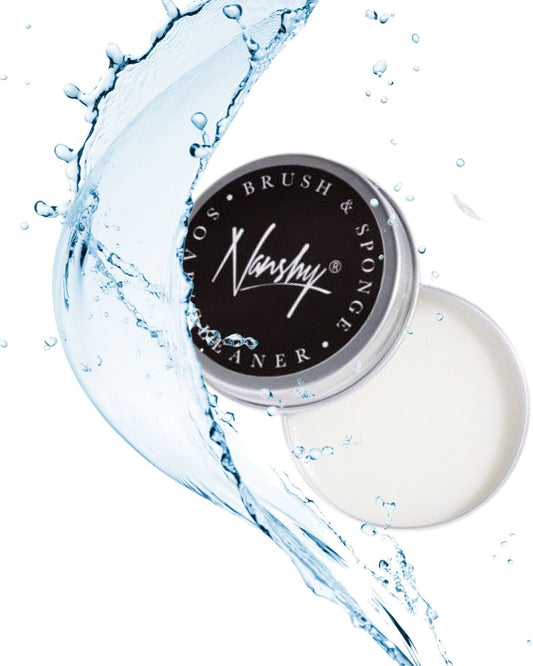
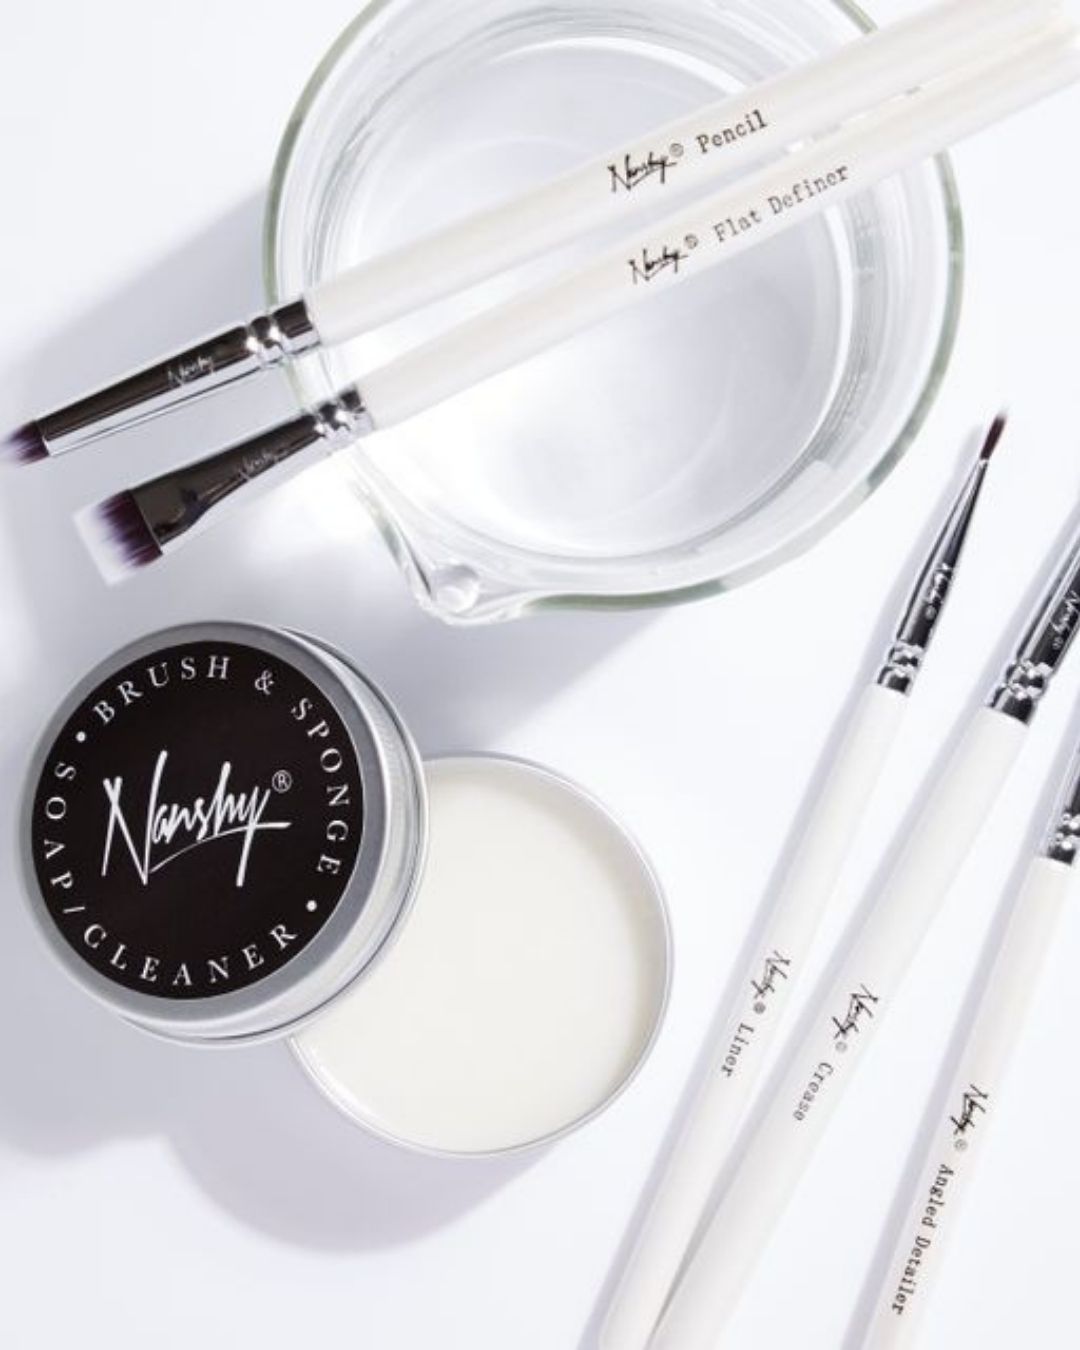
Antibacterial Makeup Brush & Sponge Cleaning Soap
Regular price
£12.95 GBP
Regular price
Sale price
£12.95 GBP
Unit price
per
Brush Care
Keep Your Brushes Thriving with Nanshy Brush Care: Wash away the worries,...
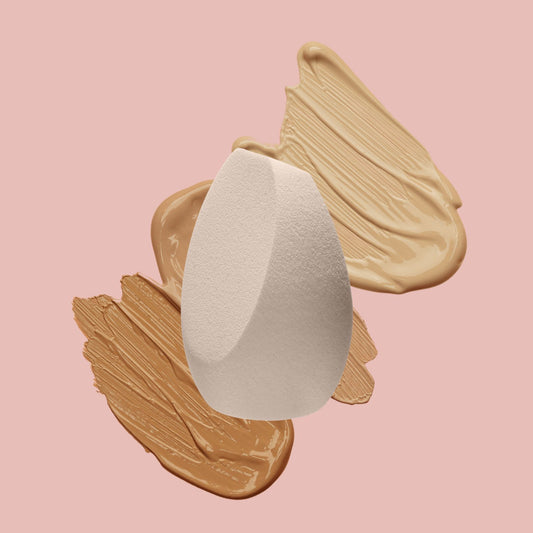
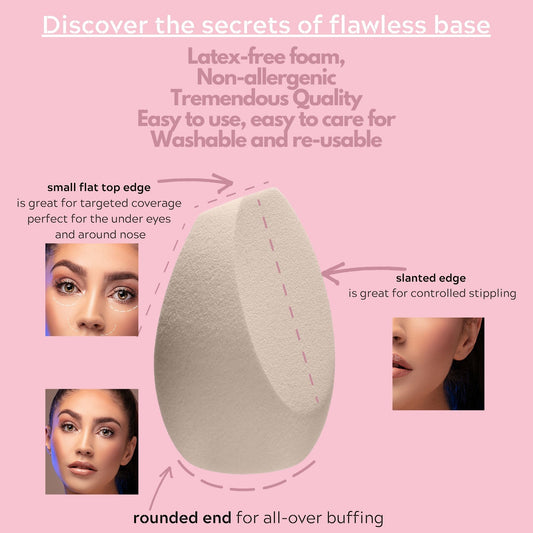
Makeup Sponges
-
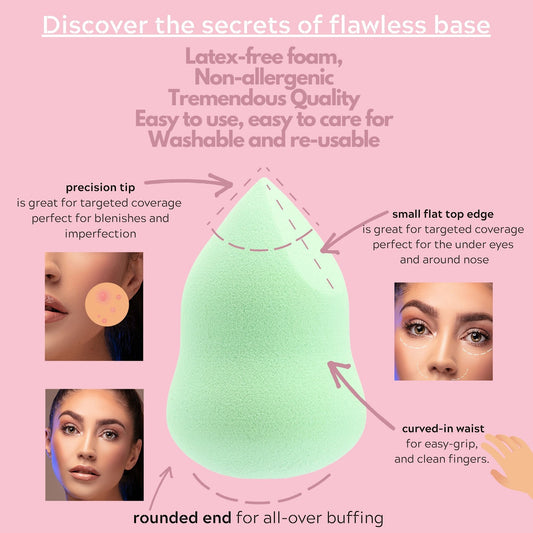
4-in-1 Marvel Makeup Blending Sponge - Mint Green
Regular price £6.95 GBPRegular priceUnit price per -
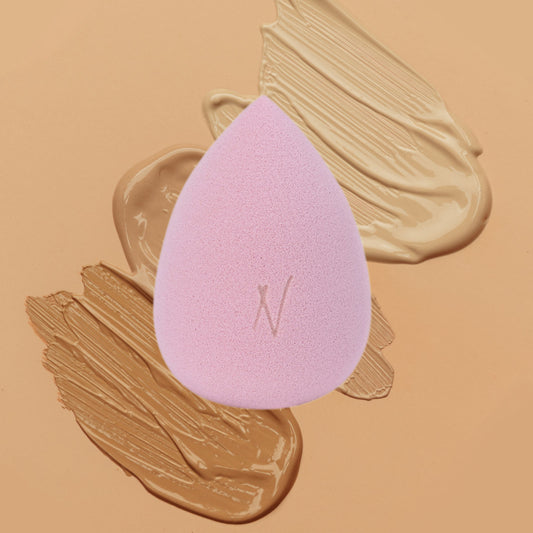
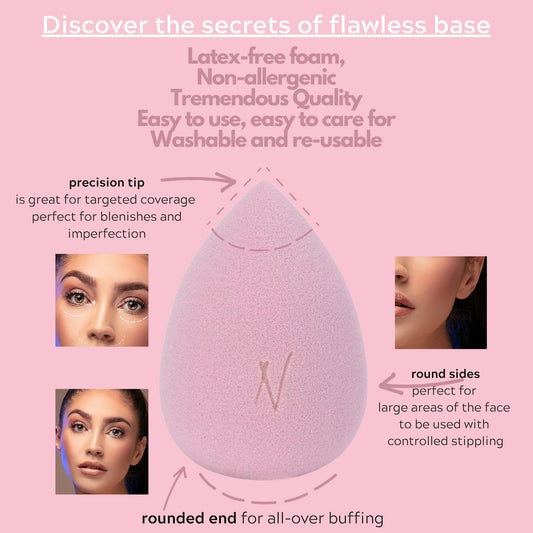
Dusty Rose Makeup Blending Sponge
Regular price £6.95 GBPRegular priceUnit price per -
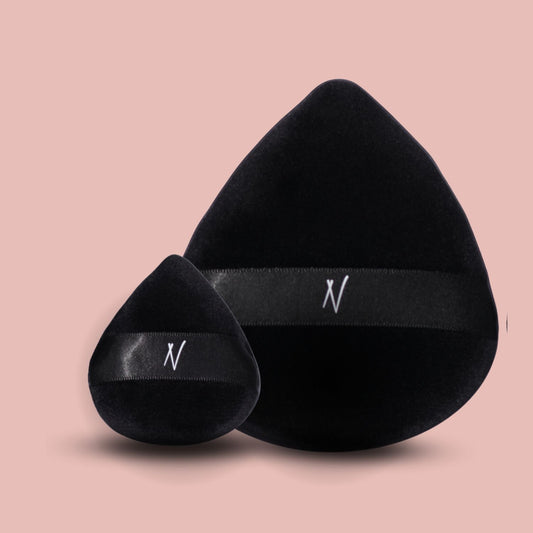
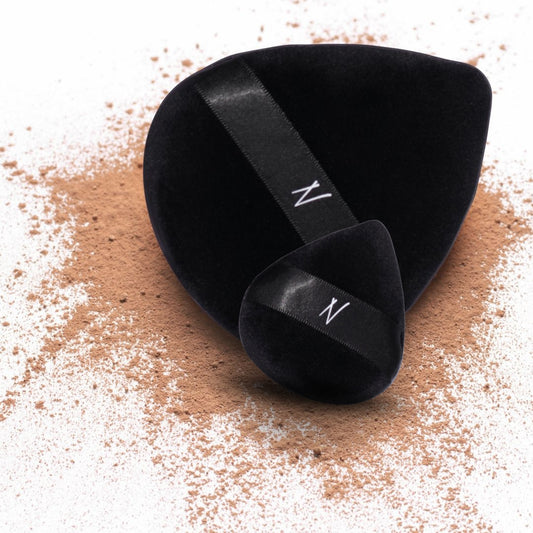
Velvet Powder Puff Duo
Regular price £9.95 GBPRegular priceUnit price per -
Drop of Finesse Makeup Blending Sponge
Regular price £6.95 GBPRegular priceUnit price per

Skin Care
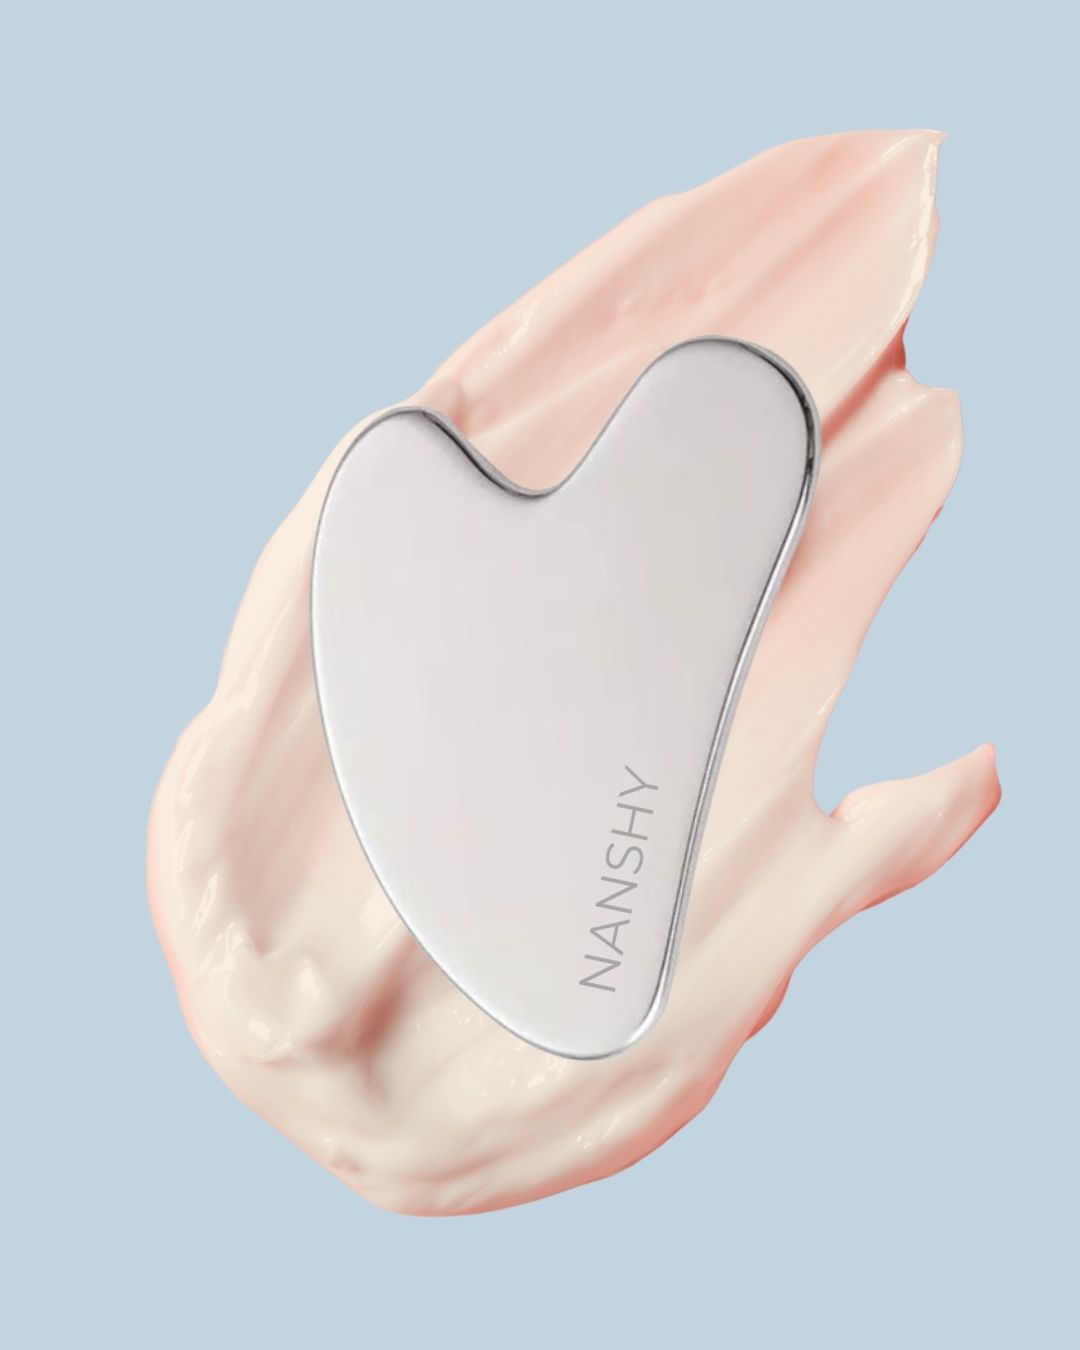
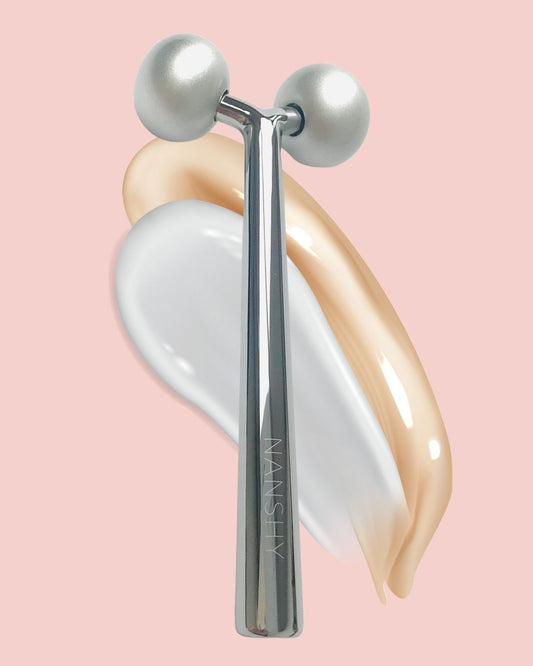
Face Sculptor Roller
Regular price
£49.95 GBP
Regular price
Sale price
£49.95 GBP
Unit price
per