Brushes for Liquid Foundation: How (and What) to Choose

How Using Fluid Foundation Helps Your Makeup Look the Best
Want to make your liquid foundation look flawless?
The secret’s in the tools you choose, beautiful.
Picking the right brush (or sponge) can mean the difference between that dewy glow and nasty breakouts.
In this blog, you’ll learn how to choose the perfect brush for YOUR skin type so you can glow all day long.

Best Brush Types for Your Skin Type
If you’re looking for a quick recommendation on what different types of brushes to pick for applying fluid foundation, here’s the TLDR:
• Foundation Brushes

Ever had a brush mess up your look by shedding bristles on your face?
Not anymore.
We took no shortcuts with our Flawless Foundation brush and used a special kind of bristle that won’t fall off. As a plus, the ferrule is made with brass which makes them wear & corrosion-resistant.
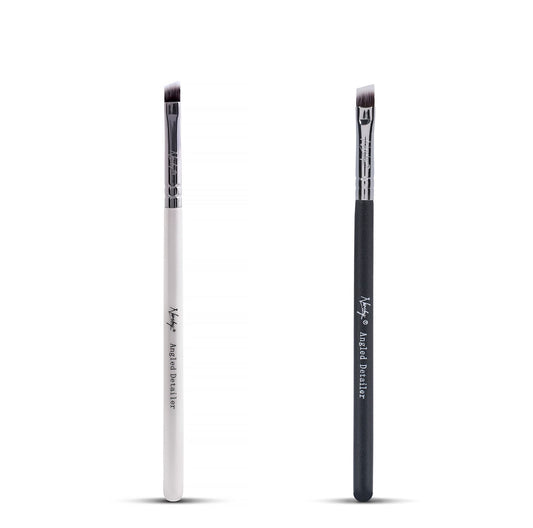
• Angled Brush

An angled brush works well for liquid foundation because the shape hugs your face's natural curves, giving you smooth & even coverage in just a few strokes. This is also helpful if you use cream blush or blusher.
• Buffing

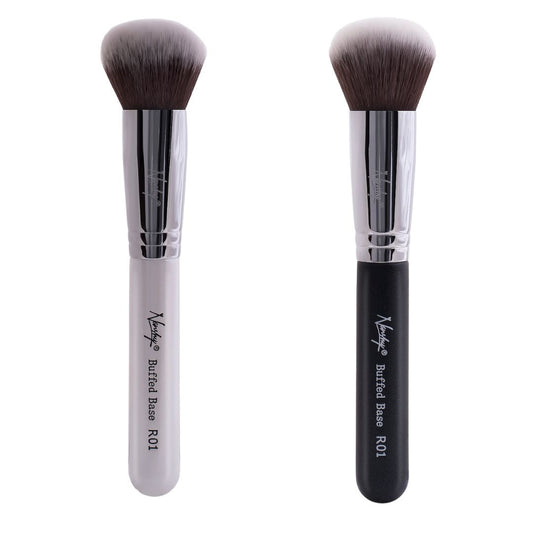
A buffing brush is ideal for building full coverage. Its dense and rounded bristles are designed to press foundation onto your skin rather than just sweeping it on. This helps blur imperfections and creates a long-lasting, airbrushed look without any caking.
• Stippling

Stippling brushes often feature a dual kind of bristle: Short and dense ones. This makes them perfect for creating a light, buildable base for you to layer on. Except it gets better: This double design also helps you avoid harsh lines.
What About Sponges?
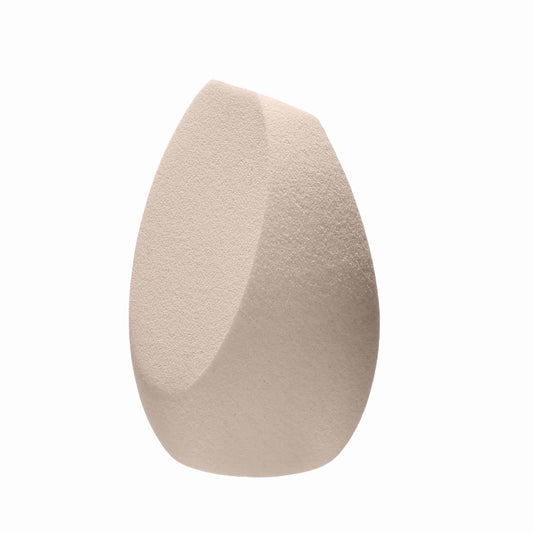
You might be wondering if sponges are better than brushes for liquid foundation.
- The short answer is that it depends.
- The long answer can be found in our post about foundation brushes VS makeup sponges.
Some people prefer sponges for that fresh, glowing look. Others use brushes since they’re more precise when you apply it. So it really depends on the vibe you’re going for.
If you scroll through beauty Reddit, you’ll find tons of people sharing different opinions on this. So we recommend experimenting with both to see what works best for your skin type.
Powder VS Liquid Foundation
It’s worth noting that you can always mix different kinds of foundation if you’re looking for a more customized look. Actually, this combo can give you the best of both worlds because you’ll get the smooth coverage of liquid foundation plus the matte finish from powder.
But if you only want to pick one, here’s the pros & cons of each:
Fluid Foundation
Pros:
- Smooth & Blends Easily: The liquid texture lets you seamlessly blend it onto the skin, meaning you can get that airbrushed look with minimal effort.
- Dewy Finish: It’s the ideal choice if you’re looking for a dewy “I just woke up like this” look.
- You Have Tons of Options: You can find formulas for all skin types (oily, dry, mature, etc).
Cons:
- Can Feel Heavy: It’s more likely to feel heavy on the skin, especially with full-coverage formulas. So we recommend being extra careful to avoid that cakey feeling.
- Can Be Messy: Since it’s liquid, it’s tougher to clean. You might end up with spills or stains on your clothes (or even worse, your bag). In fact, some liquid formulas can permanently stain your bag if you’re not careful. Take a look at our bag organization blog for more.
- May Not Last As Long: Since fluid formulas often oxidize more quickly, this type of foundation can fade away quicker.
Mineral Powder
Pros:
- Lightweight & Breathable: Mineral powders are often lighter than liquid foundations. So they're awesome if you prefer a more minimal makeup style.
- Matte Finish: Since it absorbs excess oil and controls shine, it’s ideal for those who prefer a matte finish (especially if you have oily skin).
- Good for Sensitive Skin: Many mineral powders are made with fewer chemicals, which makes them a great choice for sensitive skin or anyone prone to breakouts.
Cons:
- Can Emphasize Dry Patches: Because powder formulas don’t offer as much moisture, they can more easily settle into dry areas. Not good.
- Limited Coverage: Mineral powder usually offers light to medium coverage, so if you want full coverage, it might not give you the finish you're looking for.
- Requires the Right Tools: For a flawless finish, you’ll need a good kabuki or flat top brush. Both help spread the product evenly. Actually, we have a full tutorial on how to use a flat top brush.

How to Use Liquid Foundation
Did you know that if you’re not removing foundation properly, you’re risking long-term skin damage? Buildup causes loss of skin elasticity, which results in dull-looking skin, especially if you’re wearing layers.
The good news? You can easily avoid that by using the right makeup removers and cleansing techniques to keep your skin fresh & hydrated.
But first, here’s what you should know about actually applying it:
How to Layer
1. Start with Skincare
The best makeup hack is… Just having great skincare. So make sure your skin is well-hydrated and prepped before using ANY kind of makeup. We recommend using a gua sha or face roller for this step.
Not sure which to pick? We have an article teaching you the difference between these tools.
2. Apply a Hydrating Primer
This is more of an optional step, but applying a hydrating primer can make a world of difference, especially if your skin tends to be dry.
3. Choose the Right Tone
Did you know about 60% of people don’t know their undertone? Choosing the right shade is the difference between glowing skin and an awkward foundation line.
- Warm: If your veins look greenish and you tan easily, you probably have a warm undertone. Golden or yellow foundations will suit you best.
- Cool: If your veins look blue and you burn in the sun, you’ve got cool undertones. Pink or blue-based foundations will look great on you.
- Neutral: Not sure if your veins are blue or green? You probably have neutral undertones. A foundation with a mix of pink and yellow works best.
4. Apply a Thin First Layer
Just a tiny bit of product, you can apply more later if you need (and make sure to blend well into your jawline and neck to avoid any visible lines).
5. Layer & Build
This is the most important step. After your first layer, check the coverage. If needed, add a little more foundation around areas that have blemishes or redness. The point is to do it gradually. Remember: It's easier to add than it is to remove.
Pro tip: It’s worth noting that removing makeup from the brush is just as important, as this ensures they last long and prevents breakouts.
6. Blend Again
This helps soften any visible lines, smoothen out coverage, and refine your overall look. Use a damp sponge or a brush to blend things out. Remember to focus on areas on the edges of your face, like your hairline and jawline.

Common Mistakes
Earlier we mentioned the long-term risks of not removing foundation properly. But that’s just one thing to consider when it comes to your skin’s glow.
Keep an eye out for these common mistakes:
• Skipping Skin Prep:
This is a BIG one – skincare was the first step to layering for a reason. Applying foundation without moisturizing and priming can make it look uneven and dry.
• Applying Too Much:
You’ll find that most of the time, you won’t need as much foundation as you thought. So unless you’re frosting a cupcake, less is more.
• Only Using Fingers to Apply:
Fingers work, but they can leave streaks (or even worse, cause breakouts). Ideally, try to avoid them altogether unless you’re doing touch-ups in the middle of an event. Take a look at our makeup hygiene blog for more.
• Not Adjusting Foundation for Seasonal Skin Changes:
Colder weather can make your skin appear paler and more muted, and this is especially true in the UK during the colder months. So go for lighter shades in winter and deeper shades during summer.
• Applying Foundation Over Powder:
This leads to a clumpy texture that’s hard to smooth out. Always apply foundation first, then set with powder.

Can You Use This Brush for Liquid Foundation?
Earlier we shared some recommendations that work great with liquid foundation, but maybe you’re still wondering about other options. Can that ONE brush you have lying around work? The answer is probably, yes.
Here’s a list of common types of brushes you might have right now:
• Kabuki
Yes.
Kabuki brushes work great with liquid foundation! Their dense bristles help you blend it out smoothly for full coverage. Just make sure to blend in circular motions to avoid streaks.
• Powder
It’s not ideal.
Powder brushes are typically designed with softer bristles that are meant to apply loose or pressed powder. So they’re not dense enough to evenly distribute liquid foundation or blend it properly, which can leave streaks or a patchy finish. Not very nice.
MUA tip: We know cleaning powder brushes can be a chore, which is why we wrote this blog on a handy little tool you can use instead.
• Buffer
Yes.
Since they have dense & rounded bristles, buffer brushes can give you an even coverage. And because their firm bristles are designed to blend smoothly, you can get a nice airbrushed finish.
• Contour
The short answer is yes, but it’s not the best for even coverage.
Contour brushes are meant to create sharp lines, so they might leave streaks with foundation. A foundation brush or sponge will give you a smoother look, but you can always use the contour brush for defining afterward!
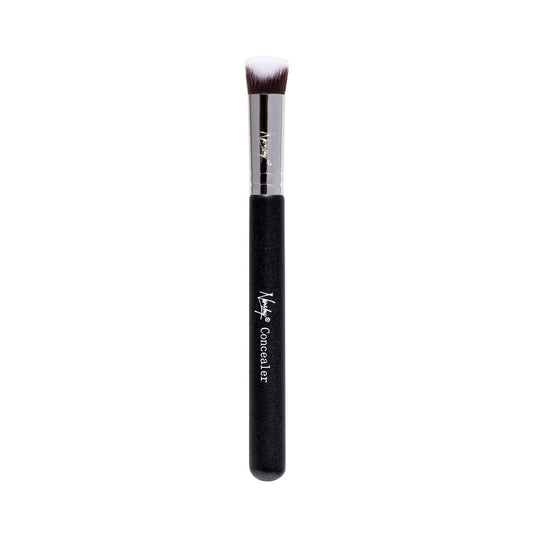
• Concealer
Yes, but with a BIG however:
A concealer brush is great for details, but for full coverage, you’ll want to switch to a bigger tool, otherwise you’ll spend the whole afternoon getting ready.
• Fan
Not really.
Fan brushes are too sparse to give an even application for liquid foundation. They’re better for highlighter or powder, so it’s best to stick to a foundation brush for better results.
• Blending
Yes and no.
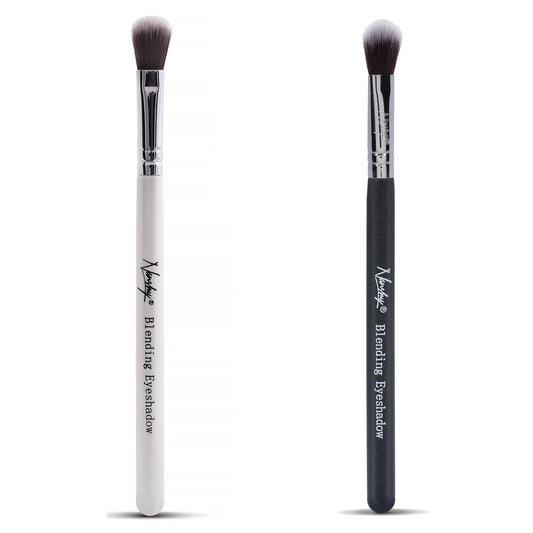
Like a concealer brush, blending brushes can work for applying liquid foundation, but it’s better for lighter application. If you want full coverage, you might want to use a denser tool instead.

Frequently Asked Questions
Do you wear powder over liquid foundation?
Yes, but it depends on your skin type!
If you have oily skin, a light dusting of powder can help control shine and set your foundation. For dry skin, though, skip the powder or only use it on areas that tend to get oily to avoid making a cake!
Should I use a brush or blender for liquid foundation?
What look are you going for?
Brushes give you a more polished finish, but blenders create a softer vibe. It’s up to you, beautiful.
Is cream foundation better than liquid?
Not quite. There’s no such thing as the “best” kind of foundation.
Cream foundation is thicker and great for dry skin or when you want extra coverage. Liquid foundation can be easier to blend but harder to clean (unless you learn how to make your own cleaner).
Is liquid foundation better than matte?
Each has its perks.
Fluid foundation is the better choice if you’re looking to hydrate your skin. That being said, if you’re after a shine-free & longer-lasting look, then matte’s the way to go.
What type of foundation is best for mature skin?
Generally speaking, liquid or cream foundations with hydrating or radiant finishes are best for mature skin. They’re great at keeping skin looking fresh and smooth, without settling into fine lines or emphasizing texture.


