Makeup Brush Mistakes You're Probably Making

Introduction
Let's be honest... we've ALL been guilty of at least one makeup brush sin. Maybe you've used the same foundation brush for weeks without washing it (no judgment), or perhaps you've been pressing way too hard trying to get that "flawless blend." The truth is, even makeup lovers who've been doing this for years make mistakes that sabotage their results.
Here's the thing: your brushes are arguably the most important tools in your makeup kit. You could have the most expensive foundation on the market, but if you're using your brushes wrong, you're never going to get that professional finish you're chasing. The good news? Most of these mistakes are super easy to fix once you know what to look for.
In this guide, we're calling out the ten most common brush mistakes we see. Whether you're a total beginner or someone who's been doing makeup for years, chances are you'll find at least one habit worth breaking. Ready to level up your brush game?
Mistake #1: Not Cleaning Your Brushes Often Enough
Why dirty brushes are a bigger problem than you think
This is THE most common mistake, and we get it... cleaning brushes is a chore. But here's what's actually happening when you skip wash day: bacteria, oil, dead skin cells, and old makeup are building up in those bristles. Every time you use a dirty brush, you're basically spreading all that gunk back onto your face. Gross, right?
But it gets worse. Dirty brushes don't just cause breakouts and skin irritation, they also affect your makeup application. Product builds up between the bristles, making them stiff and clumpy. Colours get muddy because yesterday's eyeshadow is mixing with today's. Your foundation looks streaky because the brush can't distribute product evenly anymore. Understanding the importance of cleaning your makeup brushes goes way beyond hygiene, it's essential for actually good makeup.
How often you should really be cleaning them
Here's the rule: brushes used with liquid or cream products (foundation, concealer, cream blush) should be cleaned at least once a week. Powder brushes can go a bit longer, maybe every two weeks. Eye brushes used with dark colours should be spot-cleaned between uses to prevent muddy fallout.
If weekly deep cleaning sounds like too much, consider getting an electric makeup brush cleaner to speed up the process, or learn how to clean makeup brushes like a pro with quick spot-cleaning techniques for busy days.
Mistake #2: Using the Wrong Brush Size for the Job
Too big vs. too small – what happens
Ever tried to precisely contour your nose with a big fluffy brush? Or blend out your entire face of foundation with a tiny concealer brush? Yup, doesn't work. Using a brush that's too big means you lose precision and end up putting product where you don't want it. Too small, and you'll be there forever trying to blend, often creating patchy results because you're working in tiny sections that don't connect seamlessly.
This mistake is especially common with eyeshadow. People grab whatever brush is nearby and wonder why their eye look is muddy or unblended. The size of your brush should match the area you're working on, period.
Matching brush size to face areas and products
Think of it this way: big brushes for big areas, small brushes for small areas. A large powder brush is perfect for setting your entire face, but you'd want something much smaller and more precise for setting just under your eyes. For foundation, a medium-sized brush covers ground efficiently without sacrificing control. For contour, you need something that fits in the hollows of your cheeks without spilling onto areas you want to highlight.
Not sure which brush goes where? Our guide on different types of makeup brushes breaks down every brush shape and its purpose so you can stop guessing.

Mistake #3: Applying Too Much Pressure
How hard pressing ruins your blending
We've all done it: foundation looks patchy, so we press HARDER thinking it'll blend better. Spoiler alert... it doesn't. Pressing too hard actually pushes product around instead of blending it, creates streaks, and can even lift up product you've already applied. You end up with an uneven finish and usually use way more product than necessary trying to fix it.
Heavy pressure also damages your brushes over time. It splays out the bristles, bends them out of shape, and shortens the lifespan of even the best quality brushes.
The light-handed technique pros use
Professional MUAs know that light, building strokes always beat heavy-handed pressing. The trick is to let the brush do the work. With foundation, use gentle sweeping or stippling motions rather than pushing down. For eyeshadow blending, use soft “windshield wiper” movements in the crease, barely touching the skin. If you want to know how to make your foundation last all day, a light touch actually helps product adhere better and last longer than packing it on heavily.
Mistake #4: Using the Wrong Brush Type for Your Product
Powder brushes with liquids (and vice versa)
Not all brushes are created equal, and using the wrong type for your product is a recipe for frustration. Natural hair brushes are amazing for powder products because their porous structure picks up and deposits powder beautifully. But use them with liquid foundation? They absorb too much product, become clumpy, and are a nightmare to clean.
Synthetic brushes, on the other hand, are non-porous and work brilliantly with liquids and creams since they don't soak up product and release it smoothly onto the skin. Using a natural hair brush with your liquid foundation is literally wasting product and giving you a worse finish.
Why bristle type matters more than you think
Understanding brush hair types and their uses can completely transform your application. Synthetic bristles (like Taklon) are ideal for liquid foundation, cream blush, and concealer. If you're into vegan brushes, you'll be happy to know that modern synthetics often outperform animal hair for cream products anyway. Natural or natural-synthetic blends excel with powders where you want soft, diffused application.
Mistake #5: Skipping Brush Conditioning
Why brushes get stiff and scratchy
Ever noticed your brushes feeling rougher and scratchier over time? That's because regular washing, while essential, can strip bristles of their natural oils and conditioning. This is especially true if you're using harsh soaps or hot water. The bristles become dry, stiff, and uncomfortable against your skin, and they don't blend products as smoothly either.
This happens with both natural and synthetic brushes, though natural hair brushes (which have a structure similar to human hair) tend to suffer more without conditioning.
Simple fixes to restore softness
The fix is simple: condition your brushes after deep cleaning. You can use a small amount of hair conditioner, a DIY olive oil treatment, or a dedicated brush conditioner. Work it through the bristles, let it sit for a few minutes, then rinse thoroughly. If your brushes are already stiff and sad, our guide on how to make brushes soft again has detailed restoration techniques that can bring even old brushes back to life.
Mistake #6: Storing Brushes the Wrong Way
Common storage mistakes that damage bristles
Where and how you store your brushes matters more than you'd think. Throwing them loose in a makeup bag where they get crushed? That's bending and breaking bristles. Storing them upright while still wet? Water drips into the ferrule (the metal part), loosening the glue and causing shedding. Leaving them in humid bathrooms? Hello, bacteria growth and mildew.
Another common mistake is storing brushes bristle-down in cups or holders. While this looks cute, gravity pulls oils and residue down into the bristles, making them gunky faster.

Best ways to keep your brushes in shape
For daily storage, keep brushes upright in a holder with the bristles facing up (but only when completely dry). Brush rolls or cases are perfect for travel since they protect bristles from getting squished. Looking for storage solutions? Our guide on best makeup brush holders for travel and vanity covers every option from DIY solutions to professional cases.
The key is keeping brushes somewhere dry, away from bathroom humidity, and in a way that protects those precious bristles.
Mistake #7: Using One Brush for Everything
Why dedicated brushes make a difference
We've all been there... using the same brush for foundation, powder, blush, and maybe even eyeshadow in a pinch. It seems efficient, but it's actually working against you. When you use one brush for multiple products, colours muddy together, textures mix (powder over cream gets cakey), and you can never get a truly clean application.
This is especially problematic with face products. If your contour brush also does your highlight, you're constantly fighting against the wrong shade being deposited. Your blush brush doubling as powder brush? That's why your setting powder has a pink tint now.
The minimum brushes you actually need
You don't need 50 brushes, but you do need dedicated tools for different steps. At minimum: a foundation brush, a powder brush, a blush/bronzer brush, a contour brush, and a few eyeshadow brushes for base, crease, and blending. That's it to start. Our ultimate guide to makeup brush sets helps you figure out exactly what you need based on your makeup style and skill level.
Mistake #8: Not Replacing Brushes When Needed
Signs your brush is past its prime
Quality brushes likes our Flawless Foundation can last many years with proper care, but all good things must come to an end. Warning signs that it's time to replace include: excessive shedding that doesn't stop, bristles that won't hold their shape no matter how you store them, a funky smell even after washing, bristles that feel scratchy or uncomfortable, and brushes that just don't apply product evenly anymore.
Holding onto old, worn-out brushes means fighting against tools that simply can't do their job anymore. No amount of technique can compensate for a brush that's given up.
How long brushes should really last
With proper care (regular cleaning, conditioning, good storage), high-quality brushes should last 3-5 years minimum, sometimes even longer. Cheaper brushes might only last 6 months to a year before showing wear. If you're replacing brushes constantly, it might be worth investing in better quality tools upfront. Check out our comparison of makeup brush brand names to find quality options at every price point.
Mistake #9: Wetting Brushes Incorrectly
When to use wet vs. dry brushes
Some people wet every brush before use, others never wet anything. Both extremes are wrong. Whether to use a brush wet or dry depends entirely on what you're trying to achieve and which product you're using.
Wetting an eyeshadow brush intensifies pigment and creates a foiled, metallic effect, but use a wet brush with a matte powder and you'll get a muddy mess. Using a completely dry brush with cream products often creates drag and streaking. Knowing when each technique works is key.
The right way to dampen bristles
When you do wet your brush, the technique matters. Never soak it. A quick spritz with setting spray or a light dip in water followed by squeezing out excess is all you need. The bristles should be damp, not dripping. Too much water dilutes products and can make powders patchy. Also, never submerge the brush so deep that water reaches the ferrule as this loosens glue over time.
For liquid foundation specifically, our guide on brushes for liquid foundation covers exactly how to prep your brush for the smoothest application.

Mistake #10: Ignoring Brush Shape and Purpose
Why brush shapes exist (it's not just aesthetics)
That angled brush isn't angled just because it looks cool. That dome shape isn't random. Every brush shape is engineered for a specific purpose, and ignoring this means you're making application harder than it needs to be.
Flat brushes are designed for pressing and packing product. Fluffy, domed brushes are for blending and diffusing. Angled brushes fit into contours and create precise lines. Fan brushes lightly dust without disturbing makeup underneath. Using a flat brush where you need blending, or a fluffy brush where you need precision, is fighting against the tool's design.
Quick guide to common shapes and their uses
Flat/Paddle: Foundation application, packing on eyeshadow, concealer placement
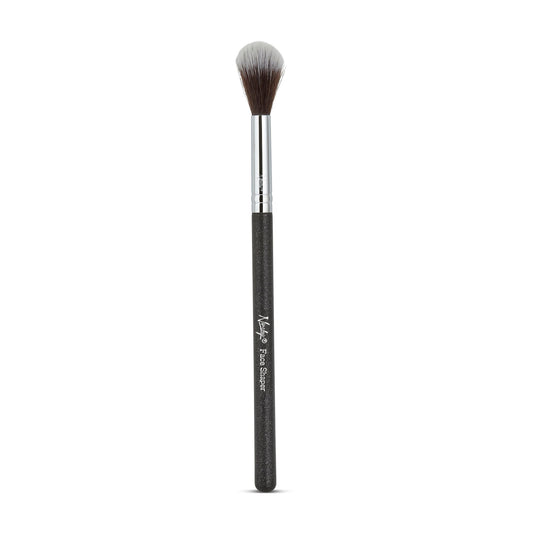
Round/Dome: Blending, buffing, soft powder application
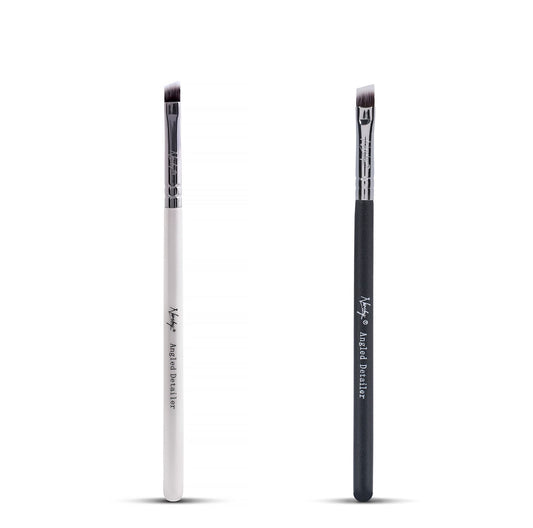
Angled: Contour, brows, precise blush placement, eyeliner
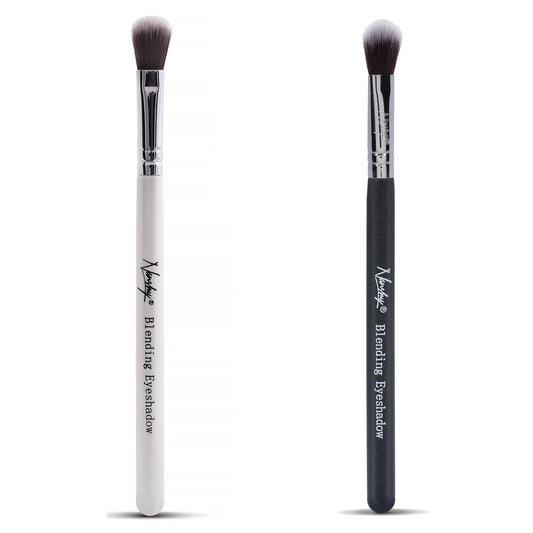
Tapered: Highlight, setting under-eye area, precise blending
Fan: Light powder dusting, highlighter, removing fallout
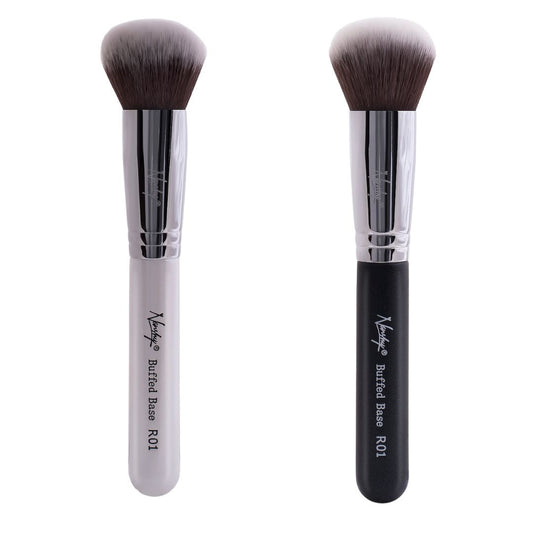
Flat Top: Buffing foundation, stippling, full coverage application
For a deeper dive into every brush type you'll encounter, check out our comprehensive guide on different types of foundation brushes and how to use each one properly.
How to Fix These Mistakes Starting Today
The good news? None of these mistakes are permanent, and fixing them doesn't require buying a whole new brush collection. Start with the basics: commit to a cleaning routine, even if it's just once a week. Pay attention to how much pressure you're using (hint: probably too much). And take a minute to actually look at your brushes and match their shape and size to what you're trying to achieve.
Small changes make a big difference. Your makeup will look better, your brushes will last longer, and your skin will thank you for not rubbing old bacteria all over it every morning. If you're serious about improving your technique, learning from professional makeup artists can give you insights that transform your routine.
FAQs About Makeup Brush Mistakes
How do I know if I'm pressing too hard?
If your foundation looks streaky, your brushes splay out flat against your face, or you're constantly trying to "fix" your blend, you're probably using too much pressure. Try barely touching the skin and using more strokes instead.
Can dirty brushes really cause breakouts?
Absolutely. Dirty brushes harbour bacteria, oil, and dead skin cells that get transferred to your face with every use. If you're breaking out in areas where you apply makeup, dirty brushes could be the culprit.
Is it bad to use the same brush for cream and powder products?
Yes. Cream residue on a brush makes powder products apply patchy and cakey. Use separate brushes for different textures, or clean your brush thoroughly between switching.
How can I tell if a brush needs replacing?
Excessive shedding, permanently misshapen bristles, scratchy texture, lingering odours after cleaning, or uneven product application are all signs it's time for a new brush.
Do expensive brushes really make a difference?
Quality matters more than price. Well-made brushes (whether budget or luxury) apply product more evenly, last longer, and feel better on the skin. Cheap brushes often shed, feel scratchy, and need replacing frequently.
Should I wet my foundation brush before use?
It depends on the finish you want. A slightly damp brush can help blend liquid foundation more seamlessly, but too much water dilutes the product. For most applications, a dry brush works perfectly well.