How to Apply Foundation Without Streaks

Ever spent forever blending your foundation only to look in the mirror and see... stripes? Yep, we've all been there. Streaky foundation is one of those frustrating makeup moments that can ruin your whole look before you even get to the fun parts like blush and highlight.
The good news? Streaky foundation is almost always fixable - and it's usually not about the foundation itself. Most of the time, it comes down to your brush, your technique, or how you're prepping your skin. In this guide, we're breaking down exactly why foundation goes on streaky, which brushes actually work best, and the step by step techniques that'll give you that smooth, flawless finish every single time.
Whether you're team full coverage or prefer a natural look, we'll help you figure out what's going wrong and how to fix it. Let's get into it.
Why Does Foundation Go On Streaky?
Before we jump into solutions, let's talk about what's ACTUALLY causing those annoying streaks. Understanding the "why" will help you avoid the problem in the first place.
Using the Wrong Brush Type
Not all foundation brushes are created equal, and using the wrong one can be the root of all your streaky problems.

Dense vs. fluffy bristles and when each works
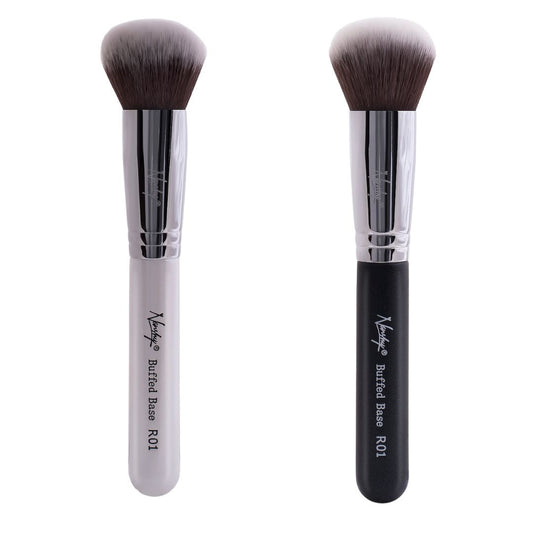
Dense brushes pack bristles tightly together and are amazing for building coverage and precise application. They pick up more product and deposit it exactly where you want it. The downside? If you're not careful with your blending, they can leave visible lines and a heavier finish.
Fluffy brushes have looser, more spread-out bristles that are perfect for sheerer coverage and seamless blending. They diffuse product beautifully and create that airbrushed effect. The trade-off is they don't give you as much coverage in one swipe, so you'll need to build up your foundation gradually.
The trick? Match your brush density to your desired coverage level. Want full coverage? Start with dense, then blend out with fluffy. Going for a natural look? Fluffy all the way.
Why cheap, stiff brushes are your worst enemy
Let's be real - those random brushes that come with your foundation or the super cheap sets from discount stores? They're probably making your life harder. Stiff, scratchy bristles don't bend and move with the contours of your face, which means they drag product instead of blending it. This creates harsh lines, uneven coverage, and honestly, it just feels awful on your skin.
Investing in quality brushes changes everything. Soft, flexible bristles (like the ones in our Masterful Collection) work WITH your skin, not against it. They blend seamlessly, feel comfortable, and make the whole application process way easier and more enjoyable. If you're new to makeup brushes, check out our guide to different types of makeup brushes to understand what each one does.
Your Skin Isn't Prepped
Here's the thing that nobody talks about enough: foundation can only be as smooth as the canvas you're putting it on. If your skin isn't prepped properly, even the best brush technique won't save you.
How dry patches and texture cause streaks
Dry, flaky skin is the number one enemy of smooth foundation. When you try to apply foundation over dry patches, the product literally clings to the flakes and settles into any texture on your skin. This creates uneven coverage that looks patchy and streaky no matter how much you blend.
The same goes for textured skin - if you have bumps, rough areas, or uneven skin texture, foundation will catch on those spots and create an inconsistent finish.

The role of moisturizer and primer
Never skip moisturizer. Seriously. A good moisturizer creates a smooth, hydrated base that helps foundation glide on evenly. Give it a few minutes to sink in before you start your makeup - if your skin feels tacky or wet, that can also cause streaking.
Primer is your optional but VERY helpful next step. A good primer fills in pores, smooths texture, and creates a barrier between your skincare and your makeup. This helps foundation blend more easily and last longer without separating or getting patchy. Think of it like a protective layer that keeps everything looking fresh. For more on prepping your skin for flawless makeup, our cosmetic brushes 101 guide covers all the basics.
Too Much Product at Once
We get it - when you want coverage, it's tempting to load up your brush. But here's the truth: more product doesn't mean better coverage. It just means more streaks, more cakiness, and more frustration.
Why loading up your brush backfires
When you dip your brush into too much foundation, the bristles get oversaturated and can't distribute the product evenly. Instead of blending, you're basically just pushing thick globs of foundation around your face. This creates visible brush marks, patchiness, and that dreaded "cake face" look.
Plus, when you use too much product at once, it's harder to control where it goes and how it looks. You end up spending forever trying to blend it out, which can actually make things worse.
The "less is more, build it up" approach
Start with way less foundation than you think you need - like, a truly tiny amount. Apply it, blend it out, and THEN assess if you need more coverage in certain areas. This "build it up gradually" method gives you so much more control and creates a way more natural, seamless finish.
You can always add more product, but you can't really take it away once it's on. Trust the process, even if it feels slow at first.
Wrong Foundation Formula for Your Brush
Not every brush works with every formula, and using the wrong combo is a fast track to Streakville.
Cream vs. liquid vs. powder and which brushes suit each
Liquid foundations are the most versatile and work with pretty much any brush type - flat, buffing, stippling, you name it. The key is making sure your brush isn't too dense or it'll absorb too much product.
Cream foundations are thicker and heavier, so they work best with dense, flat brushes or firm buffing brushes that can really work the product into the skin. Fluffy brushes just won't have enough power to move cream formulas around effectively.
Powder foundations need fluffy, soft brushes that won't pack on too much product at once. Using a dense brush with powder can create streaky, heavy-looking coverage that's hard to blend out.
Bottom line: vegan brushes with synthetic bristles are actually perfect for cream and liquid foundations because they don't absorb product like natural hair does. More on that later though. Want to learn about choosing the right brush set? Our ultimate guide to makeup brush sets has you covered.
Techniques That Actually Work
Now for the good stuff - the actual techniques that'll give you that streak-free, flawless finish you're after. These methods work with any brush type, but we'll tell you which ones work best for each.
Technique 1 - The Stipple & Buff Method
This is hands down one of the most foolproof ways to apply foundation without streaks.
How to do it step by step
-
Put a small amount of foundation on the back of your hand or directly on your face in dots
-
Take a stippling brush and gently bounce it over your skin to deposit and spread the product
-
Once the foundation is distributed, switch to a buffing brush and use small circular motions to blend everything seamlessly
-
Finish by lightly buffing any areas that need extra blending
Why this combo gives the most seamless finish
The stippling motion puts foundation on without moving it around too much, which prevents streaks right from the start. Then the buffing step blends everything together for a natural, skin-like finish. You get the coverage you want without any of the harsh lines. It's the best of both worlds.

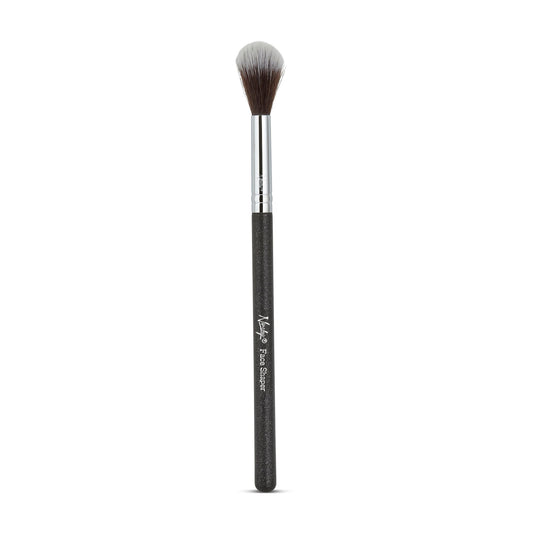
Technique 2 - Circular Buffing
This is the classic technique that works for pretty much everyone, especially with a kabuki or round buffing brush.
When to use small vs. wide circles
Use small, tight circles when you're working in detailed areas like around your nose, eyes, or mouth. This gives you precision and control. Switch to larger, sweeping circles for bigger areas like your cheeks and forehead. This covers more ground faster while still blending everything smoothly.
How pressure affects your finish
Light pressure = sheerer coverage and more blending. Medium pressure = better coverage and more product deposit. Heavy pressure = you're probably just pushing foundation around and creating a mess. Start light and build up if you need more coverage. The gentler you are, the more natural and streak-free your finish will be. Looking for the perfect brush set to practice these techniques? Our 2026 makeup brush set guide breaks down the best options.
Technique 3 - Downward Strokes for Textured Skin
If you have peach fuzz, large pores, or textured skin, this technique is a game-changer.
Why going with your peach fuzz matters
When you apply foundation in downward strokes (the same direction as your facial hair), you're smoothing everything down and creating a more even surface. If you go upward or in circles, you can lift the hair and make texture more visible. Downward strokes literally lay everything flat for a smoother finish.
How to finish without lifting product
After you've applied foundation with downward strokes, resist the urge to go back over it too much. A light final buff or stipple is fine, but overworking it will undo all that smoothing work. Less is more here.
Technique 4 - The Dot & Blend
This is perfect if you struggle with using too much product or getting patchy coverage.
Placing foundation in dots FIRST, then blending
Put small dots of foundation on your forehead, cheeks, nose, and chin. Then use your brush to blend each dot outward from the center of your face. This distributes product evenly and prevents you from overloading one area.
Why this prevents patchiness and overloading
By starting with dots, you can control exactly how much foundation goes where. You're less likely to end up with too much product in one spot and not enough in another. Plus, blending outward from each dot creates a natural gradient that looks way more skin-like than just slapping foundation all over.
FAQs
Does the type of brush really matter for streaks?
Absolutely. The wrong brush can cause streaks even if you're using the best foundation and perfect technique. Dense brushes with stiff bristles are the usual culprits. Soft, flexible bristles (especially vegan synthetic ones) blend way more smoothly and give you that streak-free finish.
Should I use a damp or dry brush for foundation?
It depends on what you want. A dry brush gives you more coverage, while a slightly damp brush creates a sheerer, dewier finish. Most people do fine with a dry brush, but if you want that glowy, natural look, try dampening your brush just a tiny bit. Just make sure it's not soaking wet or you'll dilute your foundation too much.
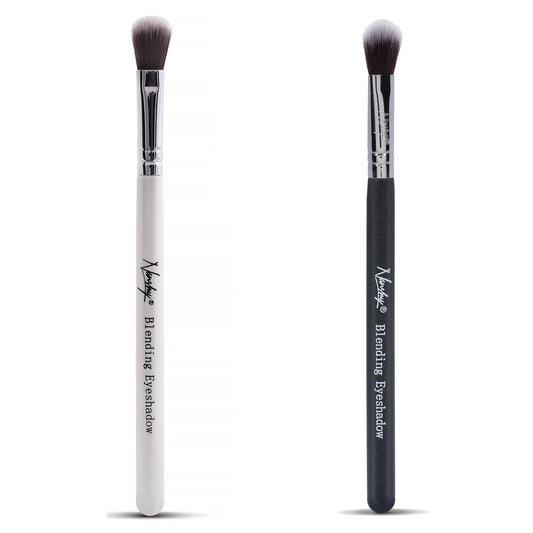
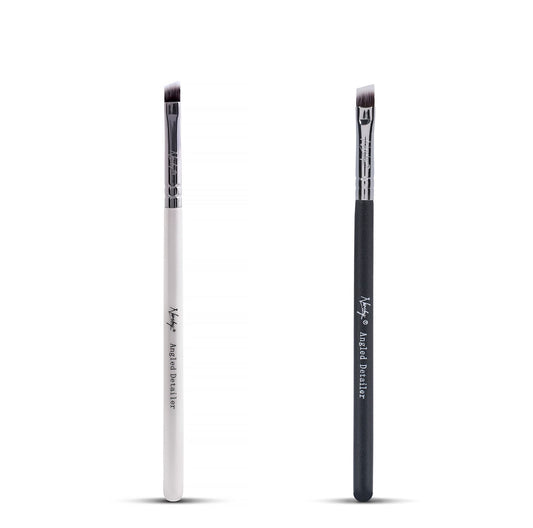
How do I apply foundation with a brush around my nose and eyes?
Use a smaller, tapered brush for these tricky spots. The pointed tip lets you get into the creases around your nose and the inner corners of your eyes without dragging product or creating buildup. Use gentle, pressing motions instead of swiping to keep everything smooth and even.
Can I fix streaky foundation without starting over?
Yes! If you notice streaks, grab a clean, slightly damp beauty sponge or a clean buffing brush and gently blend out the streaky areas. You can also mist your face lightly with setting spray and then blend - the moisture helps everything meld together. Don't add more foundation though - just work with what's already there.
How often should I clean my foundation brush?
At minimum, once a week if you use it regularly. But honestly, the more often you clean it, the better your foundation will apply. Some people do a quick rinse after every use and a deep clean weekly. It might seem like a hassle, but it literally takes 5 minutes and makes such a huge difference in how your makeup looks. If you're short on time, consider whether electric makeup brush cleaner machines are worth it for faster cleaning.