The Ultimate Guide to Beauty Blender Makeup Sponges

Ever picked up a beauty blender and wondered why everyone is so obsessed with them? You're not alone - and honestly, once you figure out how to use one properly, there's no going back.
Beauty blenders are the kind of tool that sound simple but make a HUGE difference in how your makeup actually looks. We're talking foundation that looks like skin, not like foundation. That airbrushed finish you see on Instagram? Yep - a lot of that is just a sponge.
In this guide, we're breaking down everything: what beauty blenders actually are, the different types, how to pick the right one, and (most importantly) how to use them so you get results. Let's get into it.
What Even IS a Beauty Blender?
A beauty blender is a makeup sponge - usually teardrop shaped - designed to apply and blend foundation, concealer, blush, highlighter... basically anything you want on your face. The term "beauty blender" technically refers to the original brand, but at this point it's become shorthand for all sponges like it. Think of it like how we call all tissues "Kleenex."
The shape is intentional, by the way. The pointed tip gets into tight spots (around the nose, inner corners of the eyes), while the rounded bottom handles the bigger areas like your cheeks and forehead. Simple, but genius.
The real magic? That bouncy, porous texture. It distributes product evenly across the skin, minimizing lines and patchiness in a way that's really hard to replicate with brushes. Tap, tap, tap - and suddenly your foundation just... melts in. Not sure if a sponge is even the right tool for you? Check out our breakdown of types of makeup sponges and which one you should actually be using.
A Quick History (Because It's Actually Interesting)
Beauty blenders didn't just appear out of nowhere. Hollywood makeup artist Rea Ann Silva invented the original pink sponge back in the early 2000s when she needed a way to create a flawless finish without heavy equipment on set. It officially launched in 2003 and kind of changed everything.
Since then, they've evolved a lot. You've got different sizes, shapes, and materials now - from teeny mini blenders for precise work to larger ones for blending out a full face. What started as one pink sponge is now basically its own product category.
The Different Types (and What They're Actually For)
Not all beauty blenders are the same, and picking the wrong one for the job makes a difference. Here's what's out there:

-
Original Beauty Blender - The classic pink one. Great for foundation, concealer, blush. The go-to for most people, and for good reason.
-
Mini Beauty Blender - Smaller size, better for spot concealing, precise work around the eyes and nose, or cream blush application.
-
Beauty Blender Pro - Black, specifically designed for use with dark-colored products. Prevents color transfer so you can actually see what you're doing.
-
Beauty Blender Pure - White and dye-free. Great if you have sensitive skin or allergies to colorants.
Bottom line: the original is a solid starting point for most people. You can get more specific from there once you know what you actually need. If you're building out a full kit and want to know how sponges fit alongside brushes, our guide to cosmetic brushes is a good place to start.
How to Choose the Right One
Here's what to think about before you buy:
Type: Think about what you're actually using it for. Spot concealing? Go mini. Full face? Original or larger. Sensitive skin? Look for the Pure.
Brand: The original Beautyblender brand is nice, but it's not the only good option out there. Read reviews, look at the materials, and don't just buy the cheapest thing on the shelf - a bad sponge can waste product and give you a patchy finish.
Texture and density: Some people prefer a softer, squishier sponge. Others like something a little firmer for more control. This is honestly personal preference - worth testing if you can.
Reusability: Most beauty blenders are reusable, which is both more cost-effective AND better for the environment. Win win.

Cruelty-free: If that matters to you (it should!) check the label. Most reputable brands are cruelty-free at this point, but it's always worth double-checking. And while you're thinking about what works for your skin, it's worth making sure your foundation formula is a good match too - our guide to finding the best foundation type for your skin can help you figure that out.
How to Actually Use a Beauty Blender
Here's where most people go wrong - they use a dry sponge. Please don't do this. A dry beauty blender will absorb way too much product and leave you with a cakey, uneven finish. Always dampen it first.
Step 1: Wet It
Run the sponge under water until it expands (it'll roughly double in size). Then squeeze out the excess. You want it damp, not dripping. The dampness helps it glide across the skin and blend product seamlessly rather than just soaking everything up.
Step 2: Apply Your Foundation
Dot your foundation onto your face using your fingers or a brush - don't squeeze it directly onto the sponge. Then use the beauty blender to blend it in with a tapping or bouncing motion. Start from the center of your face and work outward. Blend into your hairline and jawline so there are no harsh lines.
That bouncing/stippling motion is KEY. Don't swipe or rub - that just moves product around instead of blending it in. If you're still getting streaks no matter what you try, our full guide on how to apply foundation without streaks breaks down exactly what's going wrong.
Step 3: Clean It After Every Use
Seriously. Don't skip this. Product buildup = bacteria = bad for your skin. Clean it with gentle soap (baby shampoo is great) and warm water, squeeze and rinse until the water runs clear, and let it air dry completely before storing.
Beauty Blender vs. Makeup Brushes: Which Is Better?
Honestly? Both have their place.
Where beauty blenders win:
-
Flawless finish - The bouncing motion and soft texture create a skin-like finish that's hard to fake with brushes
-
Versatility - Works with liquid, cream, and powder formulas
-
Even coverage - Great at building up layers without looking cakey
-
No brush strokes - Self-explanatory, but huge
Where brushes win:
-
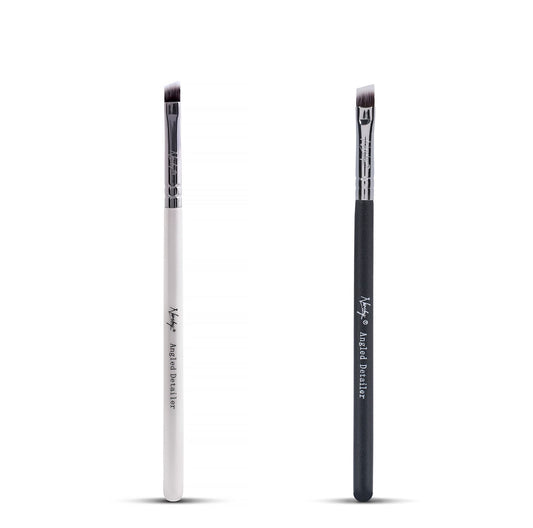
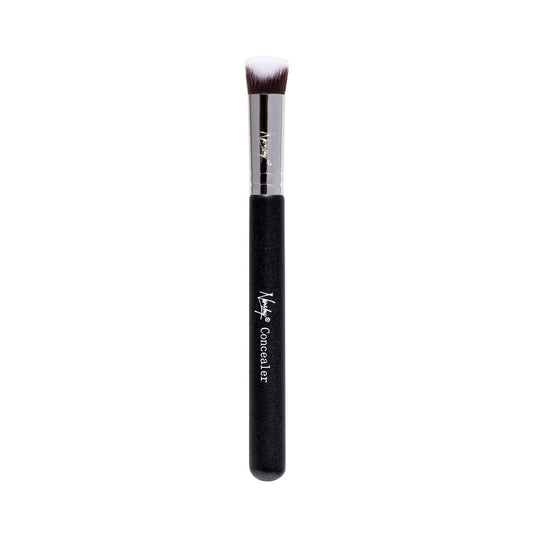
Precision - Fine concealer brushes are better for small blemishes or tight spots
-
Blush placement - A dedicated blush brush gives you more targeted control
-
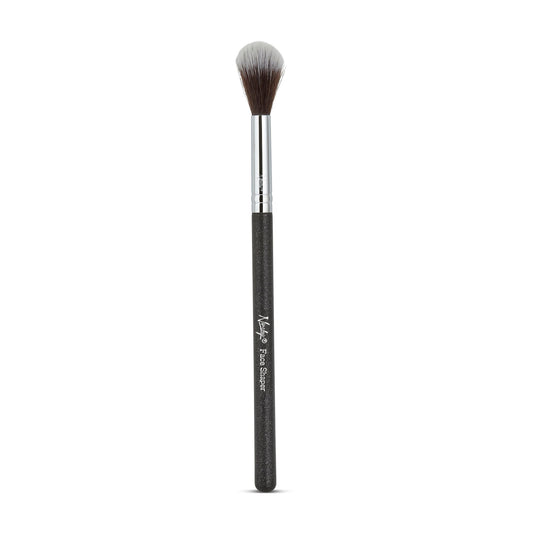
Powder application - Some powder brushes are better at picking up and distributing product
The good news: you don't have to choose. Plenty of people use both, depending on the product and the look they're going for. Still on the fence? We went deep on the foundation brush vs. makeup sponge debate if you want to read the full breakdown.

Advanced Techniques Worth Trying
Once you've got the basics down, here are a couple of techniques to level up:
Baking: Apply a generous layer of translucent powder with your beauty blender, let it sit for a few minutes, then brush off the excess. Locks your makeup in place and gives a matte, long-lasting finish. A favorite for oily skin.
Contouring: Use a damp beauty blender to blend cream or liquid contour products. The soft texture ensures a seamless transition - no harsh lines, just naturally sculpted cheekbones.
Concealer: Dab a small amount of concealer onto the area you want to cover, then use the pointed tip of the beauty blender to pat it in. Gentle tapping motions, not rubbing - you'll get a natural, skin-like finish every time.
Can You Use a Beauty Blender for Powder?
Short answer: yes. Longer answer: it depends on what you're trying to do.
A damp beauty blender works surprisingly well for pressing powder products into the skin - setting powder especially. Instead of sweeping it on with a brush, you press the sponge into the skin and it sets your base without disturbing what's underneath. Great for under-eye areas where brushes can drag.
That said, a damp sponge picks up less loose powder than a fluffy brush, so if you're trying to do a full powder application from scratch - like a powder foundation - you might want a brush instead. The sponge is better as a finisher or setter, not a main powder tool.
For baking (which we mentioned in the advanced techniques section), the damp sponge is actually ideal. You can really pack on a thick layer of translucent powder, let it sit and melt into the skin, then dust off the excess. The result is a locked-in, crease-free finish that lasts way longer than just dusting powder on.
If you want to use your beauty blender for powder, let it dry out just slightly more than you would for liquid products - less damp, more just "not bone dry." That sweet spot gives you better powder pickup without absorbing too much of the product into the sponge.
Is the Original Beauty Blender Worth the Price?
This comes up constantly, and it's a fair question - the original brand isn't cheap. So here's the honest take.
The original Beautyblender brand is genuinely good. The foam is a specific formulation that's soft, bouncy, and holds up well over time compared to a lot of dupes. If you've ever used a cheap knockoff that felt scratchy or didn't expand properly when wet, you already know the difference quality makes.
That said, there are plenty of solid alternatives that cost significantly less and perform almost as well. Brands like Real Techniques, EcoTools, and a handful of others make sponges that get the job done without the premium price tag. The gap has narrowed a lot in recent years.
So: if budget isn't a concern, the original is worth it. If you're just starting out or want to experiment before committing, try a mid-range dupe first. The most important thing isn't the brand - it's the technique.
Taking Care of Your Beauty Blender
Want to get the most out of it? Here's what actually matters:
-
Clean it after every use (yes, every time - it's not negotiable if you care about your skin)
-
Use gentle soap - baby shampoo or a dedicated brush/sponge cleanser. No harsh detergents.
-
Let it air dry completely before putting it away. Storing it damp = mold. Nobody wants that.
-
Replace it every 3 months - or sooner if you notice it's starting to fall apart, smell weird, or not blending properly anymore. It's had a good run. Let it go.
For a proper step-by-step on deep cleaning your tools, our guide to how to clean makeup brushes covers the whole process - works for sponges too.

Common Mistakes (And How to Fix Them)
Streaky foundation? You're probably using a dry sponge or rubbing instead of tapping. Dampen the sponge and use a bouncing/stippling motion.
Cakey concealer? Too much product, not enough blending. Start with less and build up gradually using gentle tapping.
Blotchy blush? Same fix - less product, more blending. Work it in using small circular tapping motions until it looks seamless.
Uneven contour? Go lighter on the product and blend more. Circular motions work well here too. These are some of the most common application slip-ups - for the full list, makeup brush mistakes you're probably making is worth a read.
FAQs
Can I use a beauty blender for all types of makeup?
Yep - it works with BB cream, cream concealer, blush, highlighter, and even powder. The sponge's texture handles pretty much everything.
How often should I replace mine?
Every three months is the rule of thumb. Once it starts looking ragged, breaking apart, or just not performing well, it's time.
Is a high-end beauty blender worth it?
Often, yes. Higher-end sponges tend to use better materials, last longer, and actually perform better. That said, there are solid drugstore options too - just do your research before buying.
How should I store it?
Make sure it's completely dry first, then keep it in a clean, dry container away from direct sunlight and moisture. A bathroom shelf might seem convenient, but the humidity isn't great for it long-term. If you're serious about keeping your tools organized, check out our guide to the best makeup brush holders for travel - works for sponges too.