Building a Makeup Kit on a Beauty School Budget

You've got your acceptance letter, your class schedule, and then... the supply list. It's long, it's specific, and if you priced out every item at full professional cost, you'd be looking at a number that makes tuition feel like the cheap part. Here's the thing nobody tells you on orientation day: you don't need to buy the entire professional aisle before your first class. You need the right core kit, a plan for what to add later, and a bit of strategy about where to spend and where to save.
This guide breaks down exactly that — what to prioritise, what can wait, and how to build a kit that survives your entire course without wrecking your budget in week one.
Why Beauty School Kits Get So Expensive
Most supply lists aren't actually the problem. The problem is how they get shopped.
Schools list requirements broadly ("a full brush set," "a blending sponge," "brush cleanser") and it's easy to assume broad means buy-everything. Add to that the pressure of walking into a beauty supply store or scrolling a kit page online, surrounded by premium brands and "professional must-haves," and it's very easy to walk out having spent triple what the course actually required.
A few common overspend traps to watch for — and yes, most of them show up in the makeup brush mistakes most people make long after graduation too:
Duplicate shapes. Buying three slightly different blending brushes because each one looked essential in the moment.
Premium before proficiency. Splurging on top-tier tools before you've developed the technique to actually notice the difference.
Buying the whole set instead of the pieces you need. Bundles look like savings, but if half the set sits unused, it wasn't actually cheaper.
Skipping hygiene tools to afford more brushes. This one bites back fast — more on that below.
None of this means cheap out entirely. It means buy deliberately.
What to Prioritise First: Your Core Kit
Before anything else, get the tools that show up in nearly every technique you'll practise. These are the ones that pull double or triple duty across your coursework.
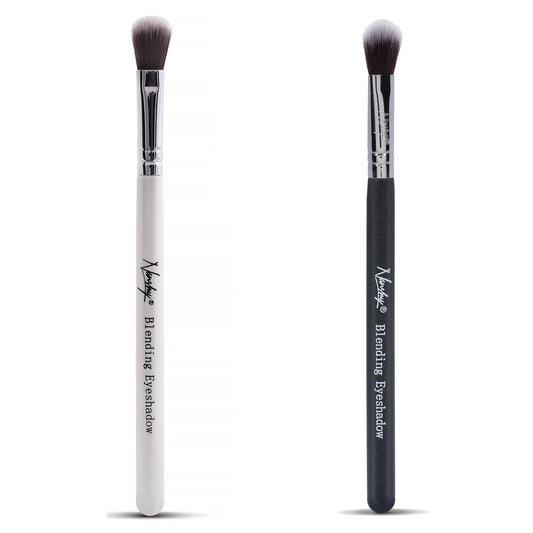
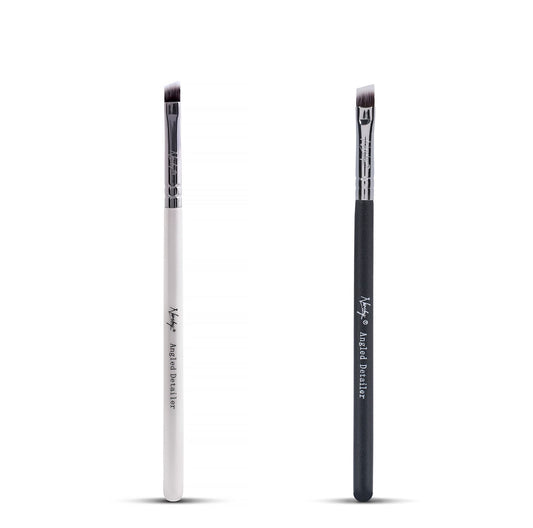
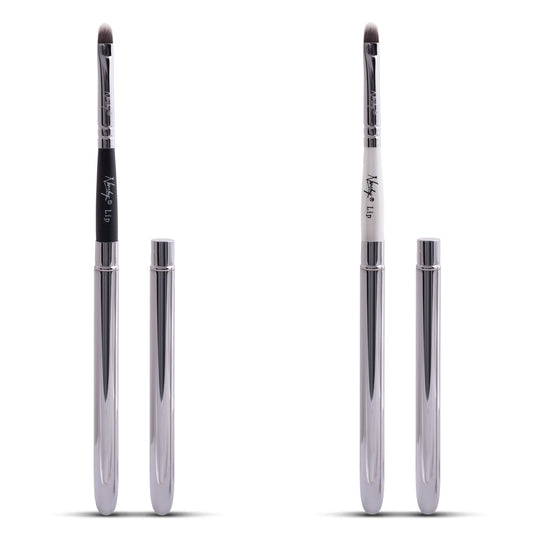
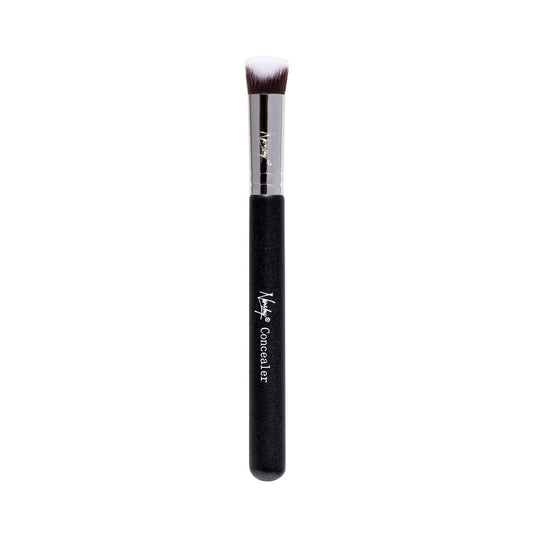
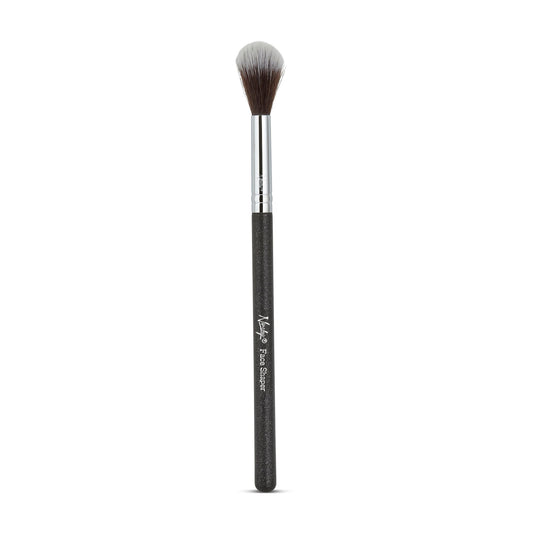
A versatile brush set. You don't need fifteen individual brushes on day one. A set that covers foundation, powder, blending, and precision work will carry you through most early assignments. Look for a set built around a handful of genuinely different shapes rather than ten brushes that all do roughly the same job. For a closer look at shapes and what each one is actually for, this guide to different types of foundation brushes is a good starting point.
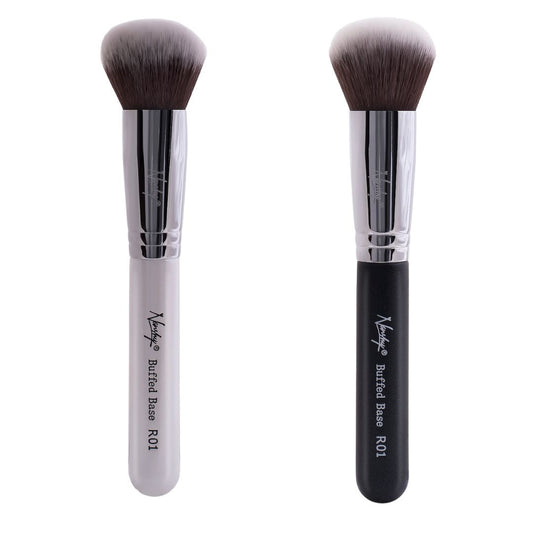
If there's one brush worth getting right before anything else, it's the one you'll use on nearly every face - Flawless Foundation works with liquid, powder, or cream formulas, so it earns its place in a starter kit long before you need a full set of specialty brushes.

A sponge or blender. This is one of the best budget moves in the entire kit. A single quality sponge can apply and blend foundation, concealer, cream blush, and even powder — a huge range of coverage for one item. If your budget is tight in week one, a good sponge plus a small brush set will get you further than a huge brush collection with nothing to blend it with. Not sure which sponge is right for you? Here's a full breakdown of makeup sponge types.
One good sponge really does most of the heavy lifting in a starter kit. The Dusty Rose Beauty Blender is latex-free, works across liquid and cream formulas, and holds up to the daily washing a classroom schedule demands.

Brush cleanser. Not optional, not something to buy "later." Beauty school moves fast — you'll be using the same handful of tools across multiple looks in a single day, sometimes on different models or classmates. Clean tools are a hygiene requirement, not a nice-to-have, and most instructors will check. If you want to stretch your cleanser budget further, here's how to use a brush cleaner properly (and make your own at home).
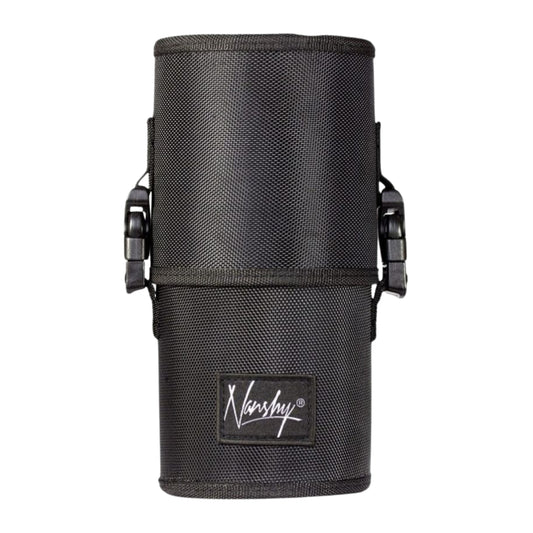
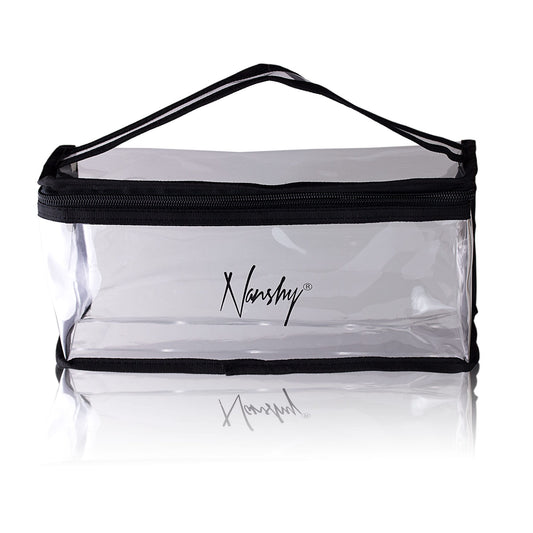
Basic storage. A roll, pouch, or case that keeps bristles protected in transit. Brushes that get crushed in a backpack lose their shape fast, and reshaping a bent brush is a losing battle. A dedicated travel brush holder makes this even easier to manage between classes.
Get these four categories sorted first. Everything else can be layered in as your coursework demands it.
What Can Wait
Here's the flip side — the things you can genuinely hold off on, at least for your first term.
Highly specialised tools. Anything built for one very specific effect or technique you haven't covered yet. Buy it when the syllabus calls for it, not before.
Limited-edition or luxury releases. Beautiful, often expensive, and rarely offering meaningfully better performance than a solid mid-range option for a student still building technique.
A second full brush set "just in case." Wait until you actually wear out or outgrow your first one.
Every colour/shade of a speciality product-specific tool. Start with the versions you'll use most, expand from there.
A good rule of thumb: if you can't name the specific technique or class project a tool is for, it can probably wait. Still not sure what falls into speciality territory? This rundown of cosmetic brushes covers the wider range of tools out there so you can see what's core versus niche.
Synthetic vs. Natural: The Budget-Smart Choice
If you're choosing between synthetic and natural-hair brushes for your kit, synthetic is usually the smarter call for a student budget — and not just because of ethics.
Synthetic bristles tend to be more versatile out of the gate, handling liquid, cream, and powder formulas without needing a separate set for each. They also clean up faster and dry quicker between uses, which matters a lot when you're rotating the same tools across a packed class schedule. And because they're non-porous, they don't absorb and hold onto product the way some natural hair does — so you get more mileage out of less cleanser and less product overall. For more on how different bristle and hair types actually perform, it's worth understanding what's in your kit before you buy more of it.
The cruelty-free angle is a genuine bonus here, not just a marketing line — but for a student stocking a kit, the practical case (versatility, durability, easier maintenance) is reason enough on its own. If you're weighing vegan versus animal-hair brushes more broadly, the performance gap has narrowed a lot in recent years — and sustainable, eco-friendly brush materials are only getting better.
Smart Buying Strategies
A few tactics that make a real dent in what you spend over the course of a term:
Buy in phases, not all at once. Match your purchases to your syllabus. Early modules usually cover foundational techniques with a smaller tool list — save the speciality purchases for when those units actually come up. Foundation-specific tools are a good example — figuring out your foundation type before buying specialised brushes for it saves you from guessing twice.
Watch for student and back-to-school pricing. Many beauty retailers and brands run discounts around the start of school terms specifically because they know students are stocking up. Timing a purchase around one of these windows can meaningfully cut your total spend.
Starter sets over à la carte — usually. If a set covers tools you'll genuinely use across multiple techniques, it's typically cheaper than buying each piece individually. The exception is sets padded with pieces you won't touch — do a quick mental check of how many items in the set you'd actually reach for. If liquid foundation is central to your coursework, the right brush for liquid formulas is worth prioritising over a generic multi-brush set.
Be selective about buying secondhand. Some tool categories are fine gently used if properly sanitised — brush handles, cases, storage. Others should never be bought used, full stop: sponges, any porous applicator, and anything that makes direct, repeated contact with skin without an easy way to fully sanitise it. When in doubt, buy those new. And whichever way you land on brush versus sponge for your kit, this comparison breaks down when each tool actually wins.
Common Mistakes Students Make When Building a Kit
A few patterns show up again and again with first-term students — worth knowing before you make the same calls.
Buying the biggest set available "to be safe." Bigger isn't automatically better. A 24-piece set sounds like great value until you realise you're actively using eight of them and the rest are just taking up space in your case. A smaller, well-chosen set beats a sprawling one every time.
Ignoring the supply list's actual wording. Schools are usually specific for a reason — "a dense powder brush" and "a fluffy powder brush" are not interchangeable, even though they sound similar to a beginner. Read the list closely before substituting based on guesswork. Precision matters just as much in application — this guide to applying foundation without streaks is a good example of how small technique differences change the result.
Underestimating how often tools need replacing during an intensive course. Beauty school puts tools through far more use than casual personal makeup application. A brush that would last a year at home might need replacing well before that when it's in daily classroom rotation — budget for that reality rather than being caught off guard. Keeping foundation looking fresh through a long teaching day matters too — here's how to make foundation last all day without constant touch-ups.
Not asking instructors or upperclassmen what they'd actually skip. People already through the programme are one of the best free resources available. A five-minute conversation can save an entire unnecessary purchase. It's also worth asking whether an electric brush cleaner is actually worth the investment for a student schedule, or if manual cleaning does the job just fine.
Making Your Kit Last the Whole Course
A smaller, well-chosen kit only stays budget-friendly if it actually survives the term. A few habits that stretch its lifespan:
Clean on a schedule, not just when it looks dirty. With a smaller tool rotation, you're using each brush more often, so buildup happens faster than it would in a huge, rarely-repeated collection. A proper cleaning routine keeps tools performing well for longer.
Let brushes dry fully and reshape before storing. Packing a damp brush into a tight case is one of the fastest ways to warp bristles or encourage bacteria growth. If bristles have already gone stiff from product buildup, here's how to make brushes soft again.
Protect your kit in transit. Beauty school means carrying your tools daily — a proper case or roll isn't a luxury item, it's what keeps your investment intact.
Rotate rather than favourite. If you find yourself reaching for the same two or three brushes constantly while others sit untouched, spread the use out. It evens out wear across the whole set instead of retiring your MVP tools early.
Treat your kit like working equipment, because that's exactly what it is for the length of your course.
FAQs
Do I need professional-grade brushes for beauty school, or will student-friendly tools work?
For most of your coursework, well-made student-friendly tools are genuinely fine. What matters more than brand tier is that the bristles hold their shape, don't shed excessively, and clean up properly. Save the premium upgrades for after you've developed your technique and know exactly what you reach for most. If you want a broader shopping reference beyond this list, our full makeup brush set guide rounds up the best tools across every budget tier.
Can I keep using my school kit once I start working professionally?
Often, yes — especially the tools you chose well and maintained properly. Many students carry their favourite pieces from school straight into their first professional jobs and only add to the kit from there, rather than replacing it outright. This is especially true if you're heading toward specialised work — becoming an SFX makeup artist, for example, builds directly on the fundamentals-first kit you start with in school.
What's the one item students regret not buying early?
Brush cleanser and a proper storage case are the two most commonly skipped in the name of saving money — and the two that cause the most frustration later, once brushes start smelling, shedding, or losing shape from being tossed loose into a bag.
Is it okay to buy used brushes for school?
Handles and cases, generally fine if sanitised. Bristles, sponges, and anything that touches skin directly — better to buy new. The cost difference isn't worth the hygiene risk, especially in a classroom setting where tools get shared or used on multiple people.
How many brushes do I actually need to start?
Fewer than most starter sets suggest. A well-rounded set of 6-10 brushes covering foundation, powder, blending, and precision work, plus a sponge, handles the large majority of first-term coursework. You can always add speciality pieces as specific units require them.
Should I ask my school if there's an approved or recommended supplier?
Worth doing before you buy anything. Some programmes have relationships with suppliers that offer student pricing, and instructors often know which budget options hold up well in a classroom setting versus which ones fall apart fast under daily use.
The Bottom Line
You don't need to buy out the beauty aisle to walk into your first class prepared. A focused core kit — a versatile brush set, a good sponge, cleanser, and proper storage — covers the vast majority of what beauty school actually asks of you. Everything else can be added in step with your syllabus, your growing technique, and your budget. Build it in phases, spend where it counts, and take care of what you buy — and your school kit will still be doing solid work long after graduation. And once you've graduated, here's how to find the best makeup artist opportunities near you to put that kit to work.