How to Apply Blush with a Brush (and Which Brush to Use)

Blush is one of those makeup products that can COMPLETELY transform a look - it adds warmth, dimension, and that fresh-faced glow that makes you look like you actually got eight hours of sleep. But here's the thing: even the prettiest blush shade won't save you if you're applying it wrong or using the wrong brush.
If you've ever walked out of the house looking like a painted doll, or blended for ages only to end up with barely any color payoff, there's a good chance your brush is to blame. The right tool makes ALL the difference. In this guide, we'll walk you through exactly how to apply blush like a pro and help you figure out which brush is the best match for your routine, your face shape, and the finish you're going for.
Why the Right Blush Brush Matters
Before we get into technique, let's talk about why the brush itself is such a big deal. Blush is one of the most “placement sensitive” products in your makeup bag. Too far down and it looks muddy. Too close to the nose and it reads as sunburn. The shape, density, and size of your brush directly affect where the product lands and how well it blends, which is why grabbing any old brush and hoping for the best rarely works out.
A good blush brush gives you control. It lets you place color exactly where you want it, build it up gradually, and blend out any harsh edges without wiping away everything you just did. A bad one - whether it's too stiff, too dense, or the wrong shape - can deposit too much product at once, create streaks, or make blending feel like a battle.
The other thing worth knowing? Not all blush formulas work with the same brush. Powder blush, cream blush, and liquid blush each have different needs. We'll cover all of them so you know exactly what to reach for no matter what's in your collection.
Which Brush Should You Use for Blush?
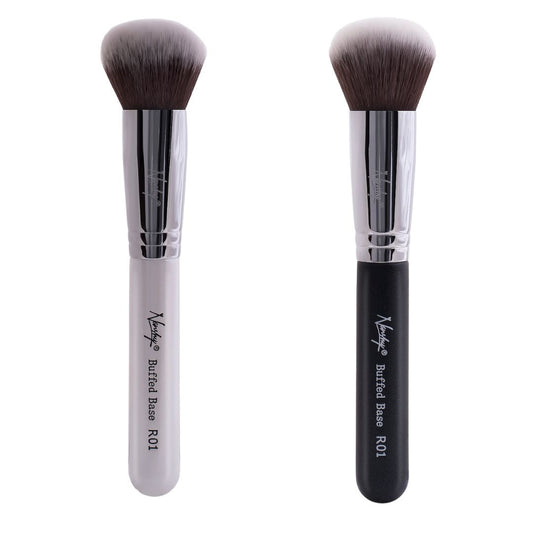
The Classic Fluffy Blush Brush
This is the one most people picture when they think "blush brush" - round, fluffy, and medium-sized. It's designed specifically for powder blush and does an excellent job of picking up color and diffusing it softly across the cheeks. The fluffy shape makes it naturally blendable, so you get a wash of color rather than a concentrated stripe.
This is the best all-rounder for beginners. It's forgiving, easy to control, and works with almost every face shape. If you only own one blush brush, make it a fluffy dome-shaped one - or better yet, invest in a full makeup brush set so you've always got the right tool on hand.
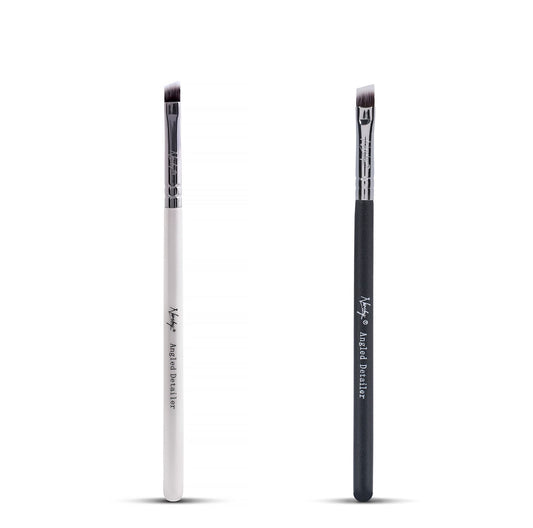
Angled Blush Brush
An angled brush has bristles cut at a diagonal, which lets it follow the natural curve of the cheekbone. This makes it great for more sculpted, defined blush placement - think the lifted, cheekbone-hugging flush you see all over social media. Because it has a more precise edge, it gives you better control over exactly where the color sits, which makes it a solid choice if you want your blush to double as a subtle contour. If you're curious about the full range of brush shapes, our guide to different types of foundation brushes covers a lot of the same principles.
It's ideal for oval, square, or heart shaped faces where you want to emphasize the cheekbones and add structure. Just be aware that it requires a little more blending than a fluffy round brush - the shape can leave a more defined edge if you're not careful.
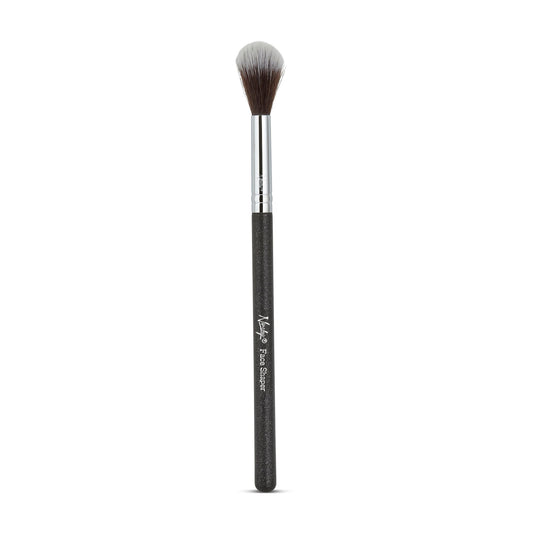
Tapered Fan Brush
Fan brushes are often underestimated, but they're actually brilliant for blush if you want a light, sun kissed effect. The sparse, spread out bristles pick up minimal product, which means you're never going to accidentally go overboard. A quick sweep across the high points of the face - cheekbones, bridge of the nose, even a little on the forehead - gives a diffused, “just been outside” glow.
This is the move if you prefer a more natural, less "done" finish. It's not the right pick if you want a bold, pigmented blush moment, but for everyday wear or if you tend to have a heavy hand with blush, it's a game changer.
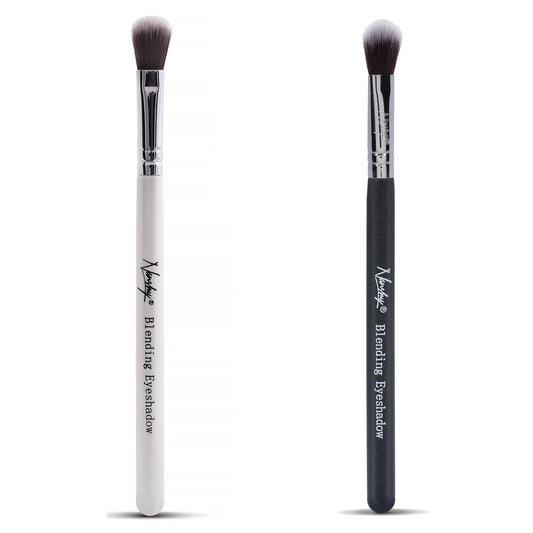
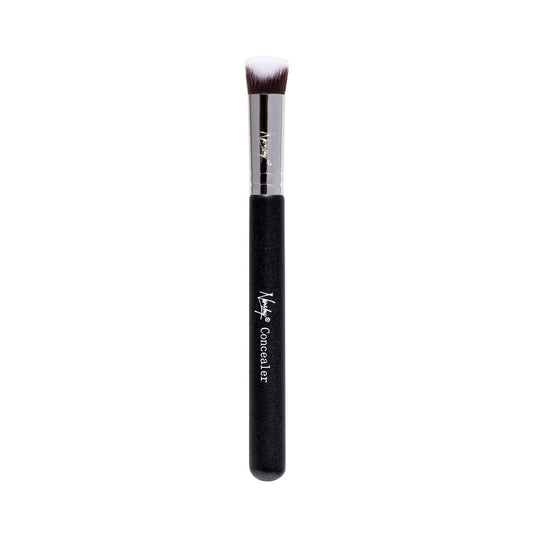
Dense Flat or Stippling Brush (for Cream and Liquid Blush)
Powder brushes don't play well with cream or liquid formulas - they'll just drag the product around instead of blending it in. For these formulas, you want something denser with synthetic bristles. A small flat brush or a stippling brush works best because the non-porous synthetic fibers don't soak up the product, meaning more of it actually ends up on your face rather than stuck in the bristles.
Synthetic bristles are a must for cream and liquid blush. They're also way easier to clean afterward, which is a bonus when you're working with pigmented formulas that can stain. If sponges are more your thing for cream products, here's a breakdown of which makeup sponge you should actually be using.
How to Apply Blush with a Brush: Step by Step
Step 1 - Start with the Right Base
Blush sits best on a finished base. Apply your foundation or skin tint first, and if you're setting with powder, do that before your blush. This creates a smooth, even surface for the color to grip and blend into. If you're using cream or liquid blush, apply it before any setting powder so it melts into the skin rather than sitting on top of a dry layer.

One thing a lot of people skip: tap off the excess product before it touches your face. After loading your brush, give it a light tap against the back of your hand or the edge of your palette. This removes any loose pigment that could fall and deposit unevenly, and it gives you a much better sense of how much product you're actually working with.
Step 2 - Find Your Placement
Where you put your blush matters just as much as how you blend it. A common mistake is placing blush too low on the cheeks, which can drag the face down rather than lift it. Here's a simple rule: smile gently and find the apples of your cheeks, then sweep upward toward the temples. This placement naturally lifts the face and gives that healthy, flushed look.
If you want a more modern, editorial feel, try applying blush slightly higher - along the cheekbone and even a little onto the temple. This works especially well with draping techniques where blush replaces contour to add dimension.
For a sunkissed look, sweep blush lightly across the nose and onto both cheeks. It's a casual, effortless vibe that works great with minimal makeup.
Step 3 - Apply in Light, Circular or Sweeping Motions
Less is more with blush - you can always add more, but it's a pain to tone it down once it's on. Start with a light hand and use soft circular motions for a fluffy brush or light sweeping strokes for an angled brush. Layer gradually until you hit the intensity you're after. Building up slowly gives you far more control than loading the brush and going in heavy from the start.
For cream blush, pat and blend rather than sweep. This presses the product into the skin for a more natural, skin-like finish. Stipple it in small dots across the cheek and then blend outward with your fingertips or the brush until there are no edges.
Step 4 - Blend the Edges
No matter how carefully you apply blush, there will almost always be an edge that needs softening. This is where a clean fluffy brush comes in handy even if you applied with a different one. Use light, windshield-wiper motions at the edges of the blush to diffuse it into the skin. You should never be able to see exactly where the blush starts or ends - it should look like it fades seamlessly into nothing.

If you've gone too heavy, a light dusting of translucent setting powder can tone down the intensity without smudging the whole look.
Step 5 - Set and Layer if Needed
Once your blush is blended out, you can lock it in place with a light spritz of setting spray or a dusting of translucent powder. This is especially useful if you're wearing cream blush and want it to last through a long day. If you're going for a glazed, dewy finish, skip the powder and go straight for setting spray instead.
For extra staying power, try a trick professional MUAs use: apply a thin layer of cream blush first as a base, let it set, then dust the same shade (or a similar one) in powder blush on top. The two layers grip each other and the result lasts significantly longer than either formula on its own.
How to Choose Based on Your Face Shape
Round face: Go for an angled brush and sweep blush diagonally from the apple of the cheek up toward the temple. This adds the illusion of length and definition.
Oval face: If this is you, you’re lucky - most blush placements work well. A fluffy round brush with a soft sweep along the cheekbones is a classic choice.
Square face: Blend blush in a circular motion on the apples of the cheeks to soften angular features, rather than sweeping it sideways which can emphasize width.
Heart face: Keep blush low and centered on the cheeks to balance a wider forehead and narrower chin.
Long face: Apply blush horizontally across the cheeks rather than sweeping upward. This adds width and breaks up the vertical length.
Common Blush Mistakes to Avoid
Applying to bare skin: Blush applied directly over bare skin (especially oily skin) tends to look patchy and fade fast. Always apply over a base.
Using one brush for everything: Your blush brush should be used for blush only. Using it for bronzer or contour means you're always mixing pigments and muddying your colors.
Forgetting to clean your brush: A buildup of old product affects both color payoff and hygiene. A quick rinse between uses and a proper deep clean once a week keeps your brush performing at its best.

Going too heavy on the first pass: Blush is pigmented. You don't need much. Build it up gradually rather than loading the brush and hoping for the best.
Neglecting the brush shape for your formula: Using a fluffy powder brush with cream blush is one of the most common mistakes out there - it won't blend properly and you'll waste product. Match your brush to your formula. For a full rundown of what goes wrong and why, check out the makeup brush mistakes you're probably making.
FAQs About Applying Blush with a Brush
What brush is best for blush beginners?
A fluffy, dome-shaped blush brush is the easiest to start with. It's forgiving, blends naturally, and works with most powder blush formulas without much technique required.
Can I use a contour brush for blush?
You can in a pinch, but it's not ideal. Contour brushes are usually more angled and dense, which makes them harder to blend out for a soft blush look. If you have no other option, use a very light hand and blend well.
How do I apply blush without it looking cakey?
Tap off excess product before applying, use thin layers, and make sure your base underneath is well-blended. If you're getting a cakey result, your base might be too thick or your blush brush might be overloaded.
Can I use my foundation brush for cream blush?
Technically yes, but you'll pick up foundation residue into your blush which can muddy the color. It's better to use a dedicated small synthetic brush or your clean fingertips for cream blush.
How often should I clean my blush brush?
Ideally once a week with a full wash if you're using it daily. Between uses, a quick spray with a brush cleanser and a wipe on a clean cloth keeps bacteria at bay and stops colors from mixing.
Does blush placement really change how your face looks?
Absolutely. Blush is one of the most powerful tools for shaping and lifting the face. Getting the placement right makes a bigger difference than the shade you choose.